

This article has not been completed yet. However, it may already contain helpful Information and therefore it has been published at this stage.
Some basics:
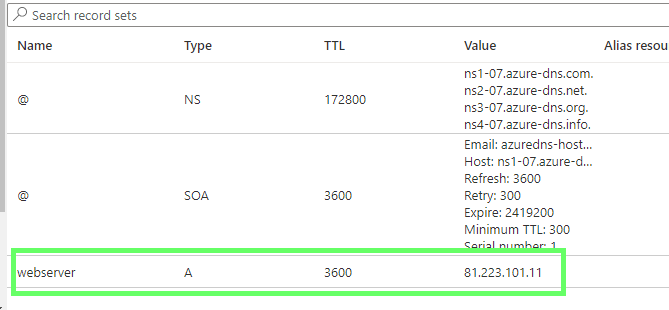
- A is the host record, and is the most common type of DNS record. It maps the domain or host name to the IP address.
- CNAME is a Canonical Name record that's used to create an alias from one domain name to another domain name. If you had different domain names that all accessed the same website, you would use CNAME.
- MX is the mail exchange record. It maps mail requests to your mail server, whether hosted on-premises or in the cloud.
- TXT is the text record. It's used to associate text strings with a domain name. Azure and Microsoft 365 use TXT records to verify domain ownership.
There are also the following record types:
- Wildcards
- CAA (certificate authority)
- NS (name server)
- SOA (start of authority)
- SPF (sender policy framework)
- SRV (server locations)
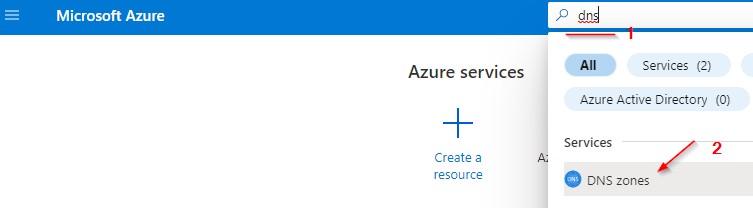
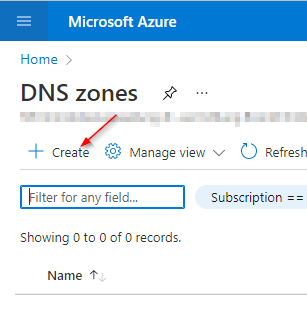
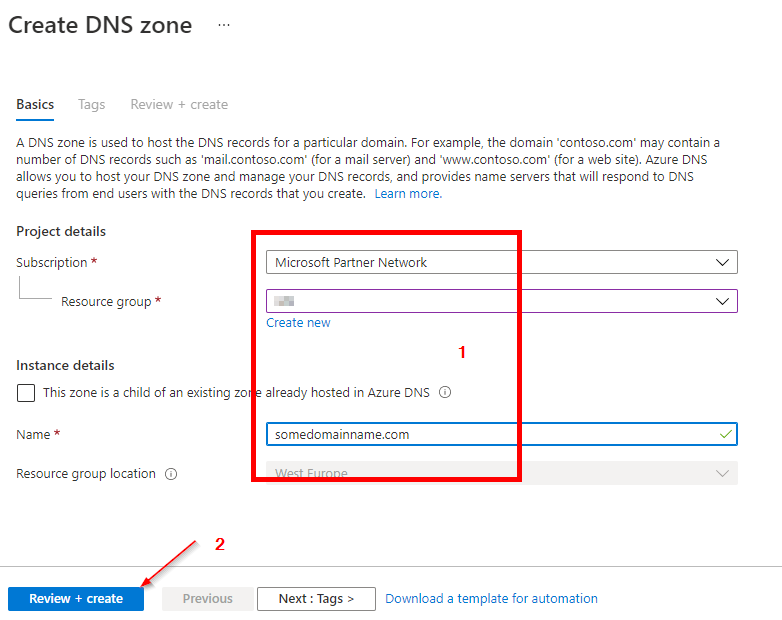
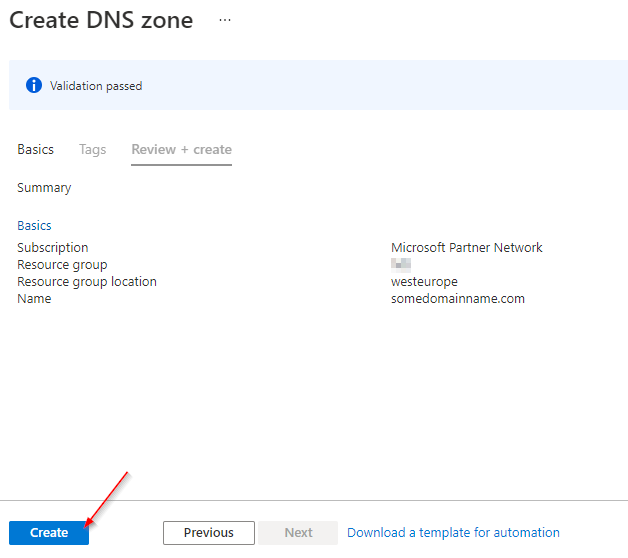
Configure a public DNS zone
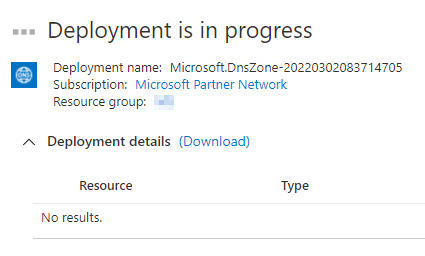
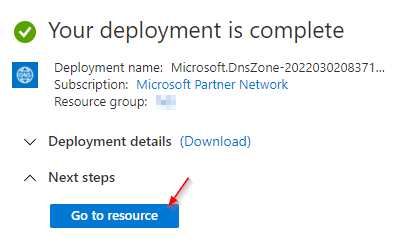
Step 1: Create a DNS zone in Azure
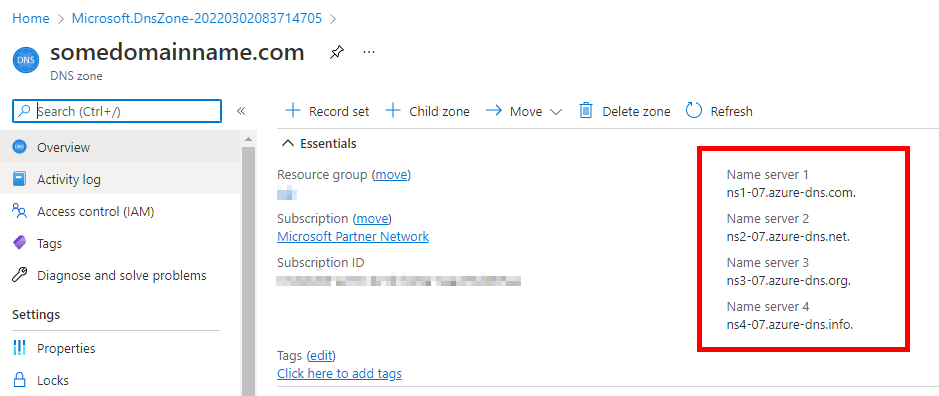
Step 2: Get your Azure DNS name servers
After you create a DNS zone for the domain, you need to get the name server details from the name servers (NS) record. You use these details to update your domain registrar's information, and point to the Azure DNS zone.
Step 3: Update the domain registrar setting
As the owner of the domain, you need to sign in to the domain management application provided by your domain registrar. In the management application, edit the NS record, and change the NS details to match your Azure DNS name server details.
Changing the NS details is called domain delegation. When you delegate the domain, you must use all four name servers provided by Azure DNS.
Step 4: Verify delegation of domain name services
The next step is to verify that the delegated domain now points to the Azure DNS zone you created for the domain. This can take as few as 10 minutes, but might take longer.
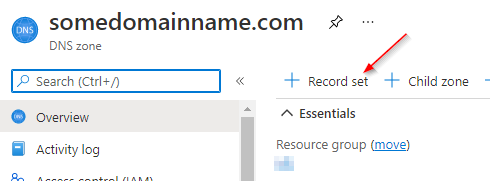
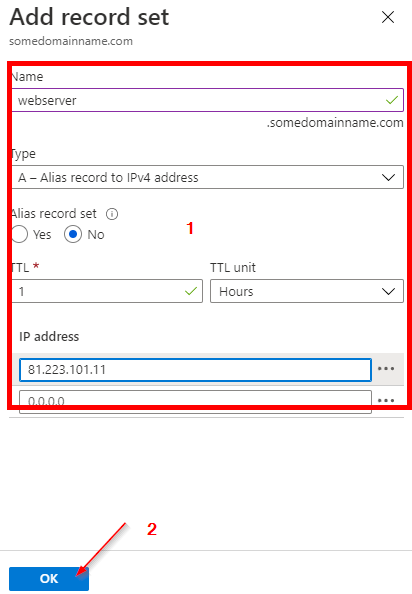
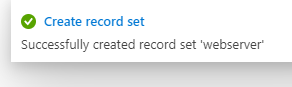
nslookup -type=SOA somedomainname.comStep 5: Configure your custom DNS settings
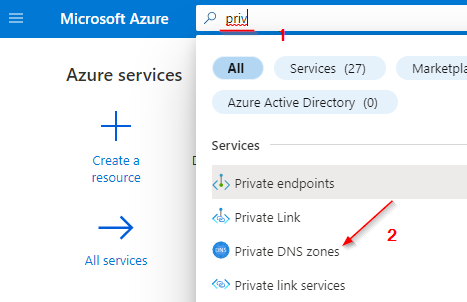
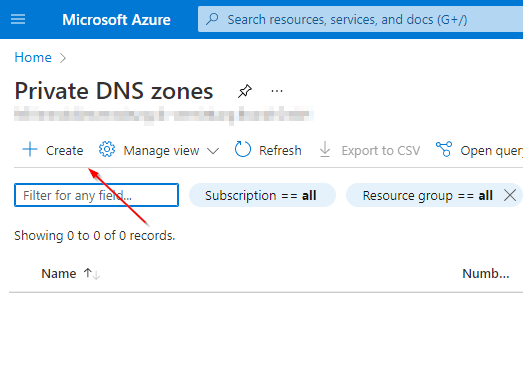
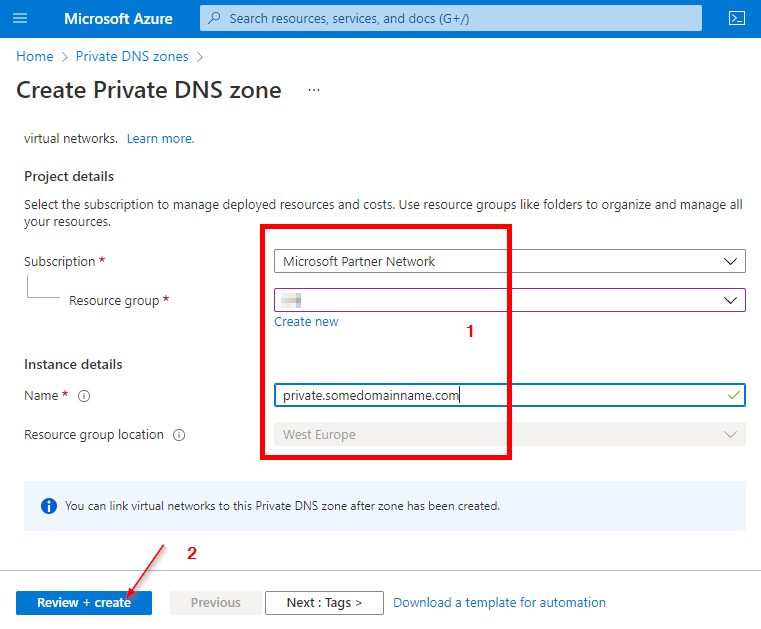
Configure private DNS zone
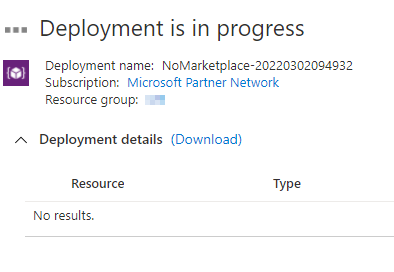
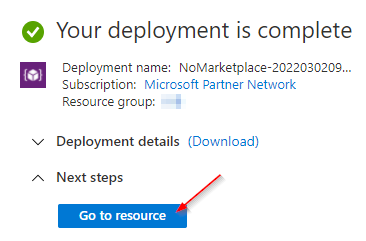
Step 1: Create private DNS zone

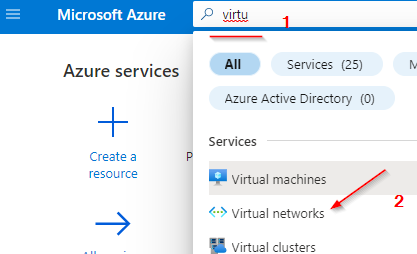
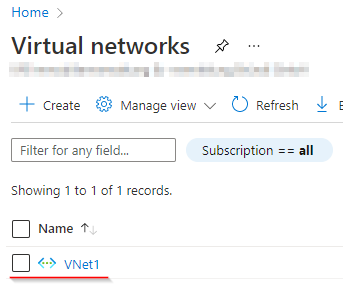
Step 2: Identify virtual networks
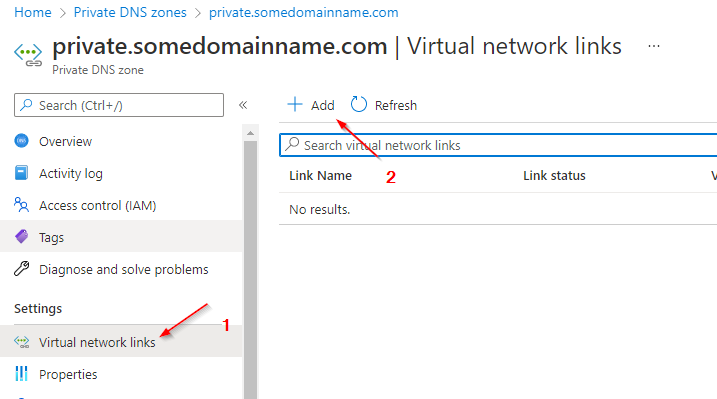
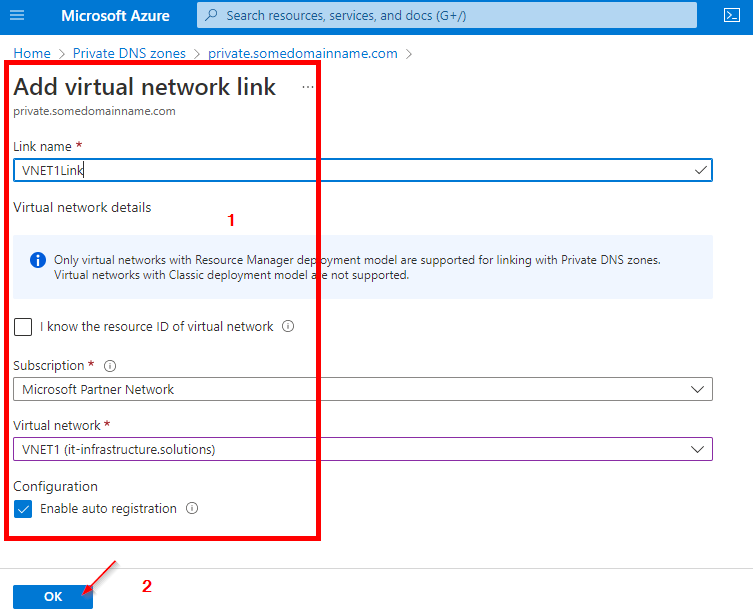
Step 3: Link your virtual network to a private DNS zone


Step 4: Testing
New-NetFirewallRule –DisplayName "Allow ICMPv4-In" –Protocol ICMPv4Now you should be able to resolve and ping the created records.
References: