
In the context of my work as a system administrator from time to time I have to deal with desktop / client issues in addition to infrastructure and server problems.
So I recently had to cope with 2 problems that had the same cause.
Case 1:
On one workstation, Bitlocker had to be activated to meet the compliance requirements for home office use (an urgent matter in COVID-19 times).
I found out that a TPM 2.0 is already used here, which works with Bitlocker only in UEFI boot mode.
TPM 2.0 is not supported in Legacy and CSM Modes of the BIOS. Devices with TPM 2.0 must have their BIOS mode configured as Native UEFI only. The Legacy and Compatibility Support Module (CSM) options must be disabled. For added security Enable the Secure Boot feature.
Therefore I had to find out how to switch to UEFI.
Case 2:
On a different piece of equipment the storage capacity became short. So I swapped the hard drive (950 PRO NVMe M.2 SSD 512 GB) to a larger model (970 PRO NVMe M.2 SSD 1TB).
Old device:
 Samsung at
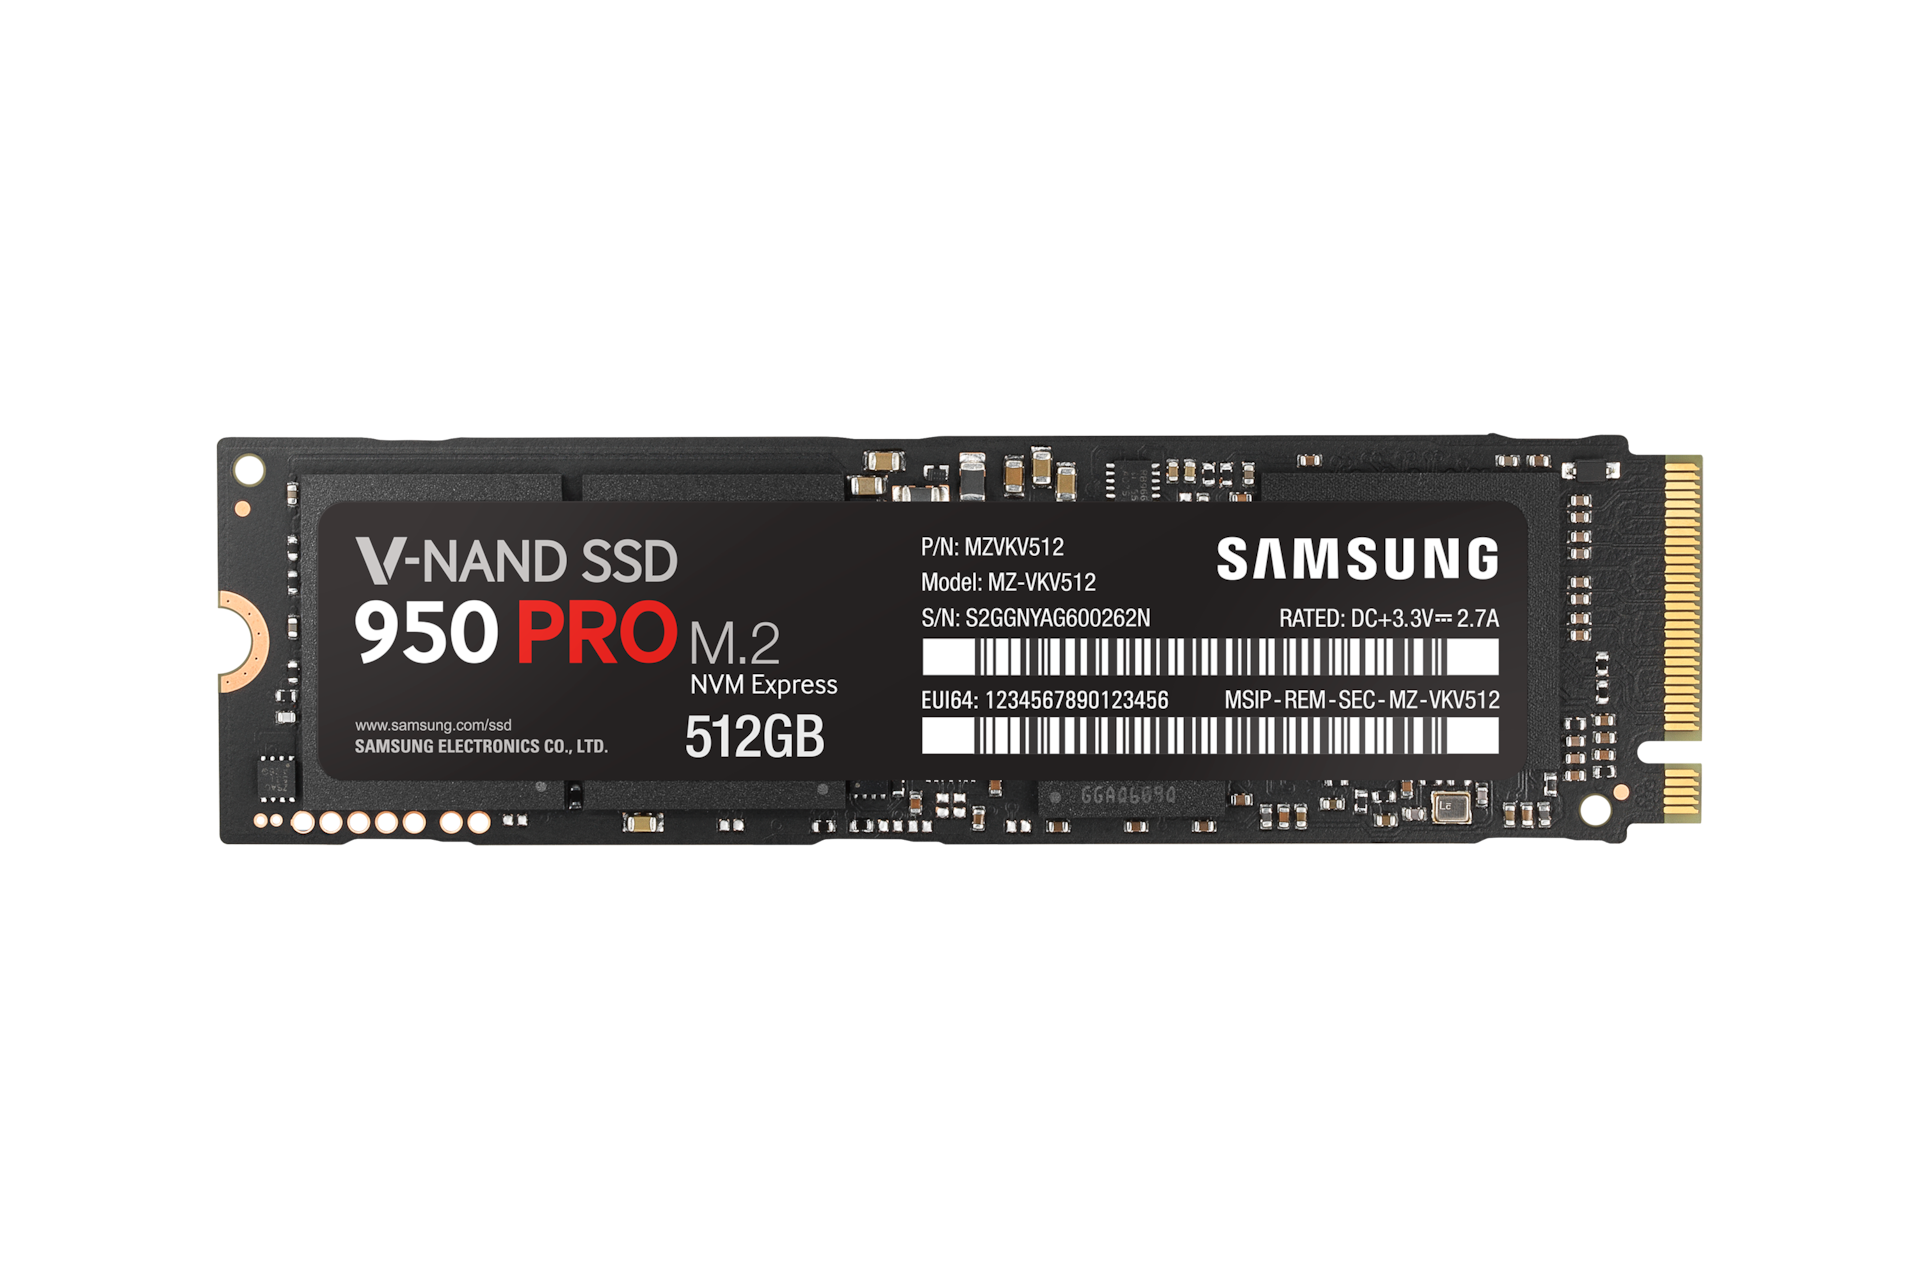
New device:
Samsung at
After I tried to do the cloning with Acronis (I already blogged about that, by the way), I found out that UEFI is mandatory for the operation of the new NVMe SSD. Due to the historical history of the laptop, the hard disk layout was still on MBR and therefore the boot mode was still Legacy.
Therefore I had to find out how to switch to UEFI either.
Solution:
In previous versions of Windows you were forced to reinstall the entire operating system if you wanted to convert from Legacy BIOS or Master Boot Record (MBR) to UEFI or GUID Partition Table (GPT). However, in Windows 10 Microsoft introduced a new and simple tool called MBR2GPT that lets you convert from Legacy BIOS to UEFI with just two commands.
Things you need to know beforehand / steps you have to take before:
- Please back up your system
- You should be using Windows 10 Version 1703 or higher (you can check this by using the tool "winver"
Press "Win" + "R", type "winver" and press "Enter"
- The disk you are trying to convert should not have more than three partitions
- Decrypt the drive and disable BitLocker protection before starting the conversion process
Convert Legacy BIOS to UEFI
I. To convert, you need to access Command Prompt from Windows advanced start-up.
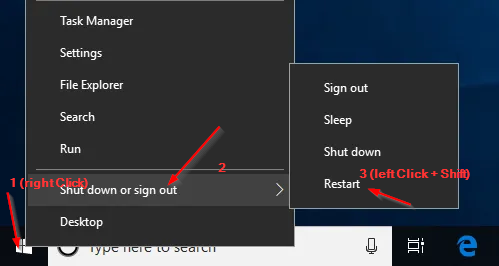
Press "Win" + "X", go to "Shut down or sign out" and click on the "Restart" button while holding the "Shift key"
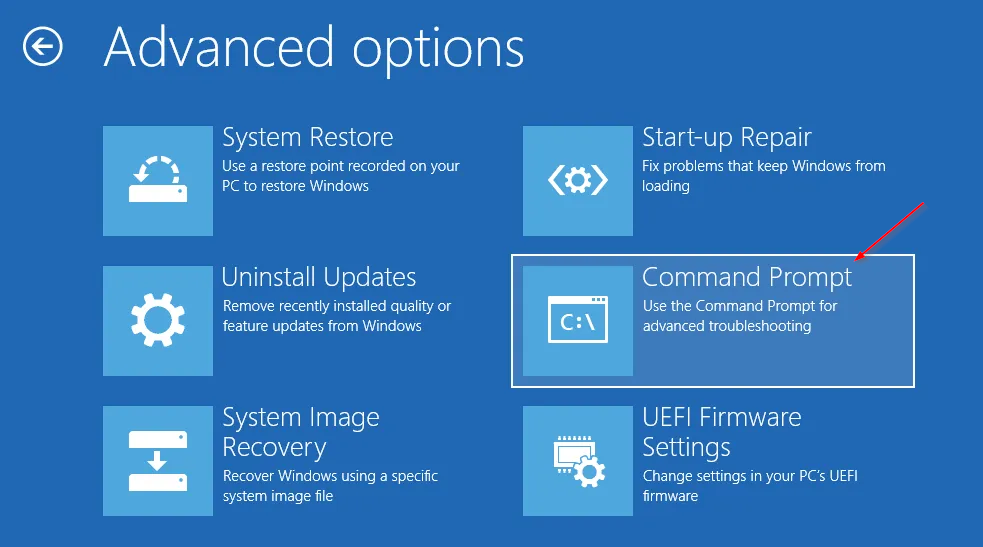
II. The above action will reboot your system to the Advanced Start-up screen. Here, go to “Troubleshoot -> Advanced Options,” and select the option “Command Prompt.”
III. The first thing we need to do is validate the disk we are trying to convert. Type the below command and press "Enter".
mbr2gpt /validate
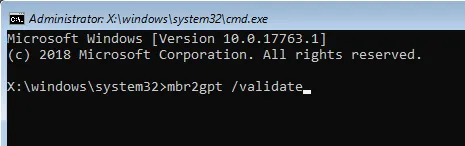
If you see the “Validation completed successfully” message, then you can proceed to the next step. If you see any errors, your disk or system might not meet the conversion requirements.
IV. After validating the disk, execute the below command.
mbr2gpt /convert
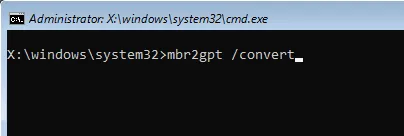
As soon as you execute, Windows 10 will start the conversion process, i.e. it will add all the required UEFI boot files and GPT components and then update the Boot Configuration Data.
V. Now restart your system, launch your motherboard firmware settings screen and change it from Legacy BIOS to UEFI. The procedure to change from Legacy BIOS to UEFI depends on your motherboard manufacturer. Consult the manual for the exact steps.