

This article has not been completed yet. However, it may already contain helpful information and therefore it has been published at this stage.
Create an EC2 - Instance....

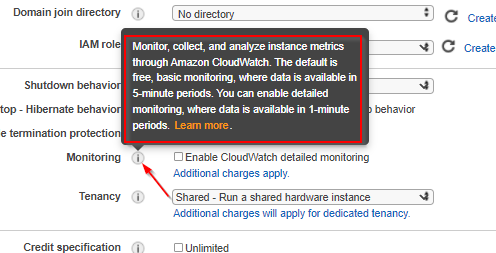
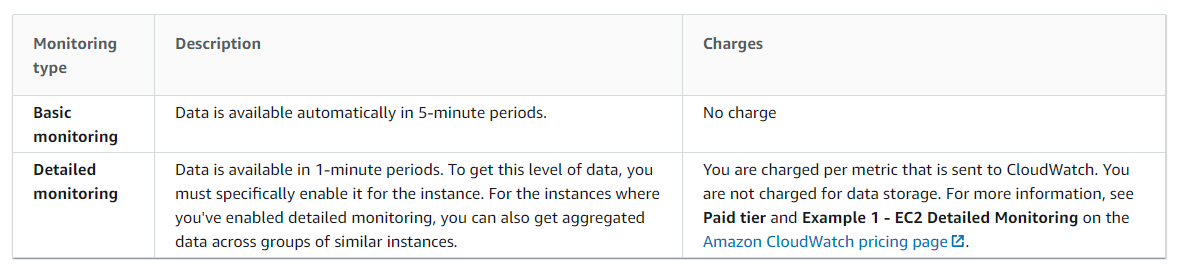
Monitoring offers:
How to enable monitoring for already created EC2 instances
Console:
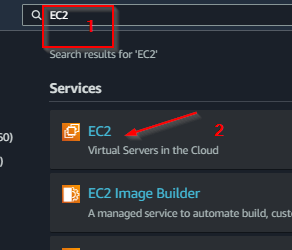
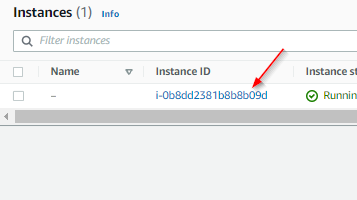
- Open the Amazon EC2 console at https://console.aws.amazon.com/ec2/.
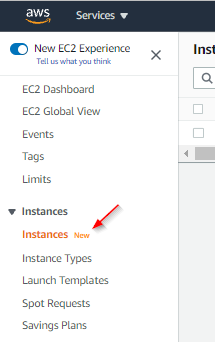
- In the navigation pane, choose Instances.
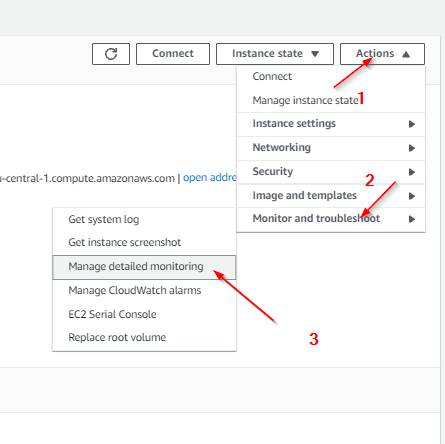
2. Select the instance and choose Actions, Monitoring, Manage detailed monitoring.
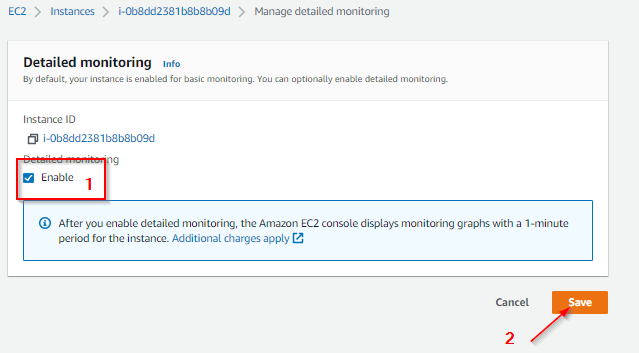
3. On the Detailed monitoring detail page, for Detailed monitoring, select the Enable check box and choose Save.
AWS-CLI:
aws ec2 monitor-instances --intance-ids <xxxxxxxxxxx>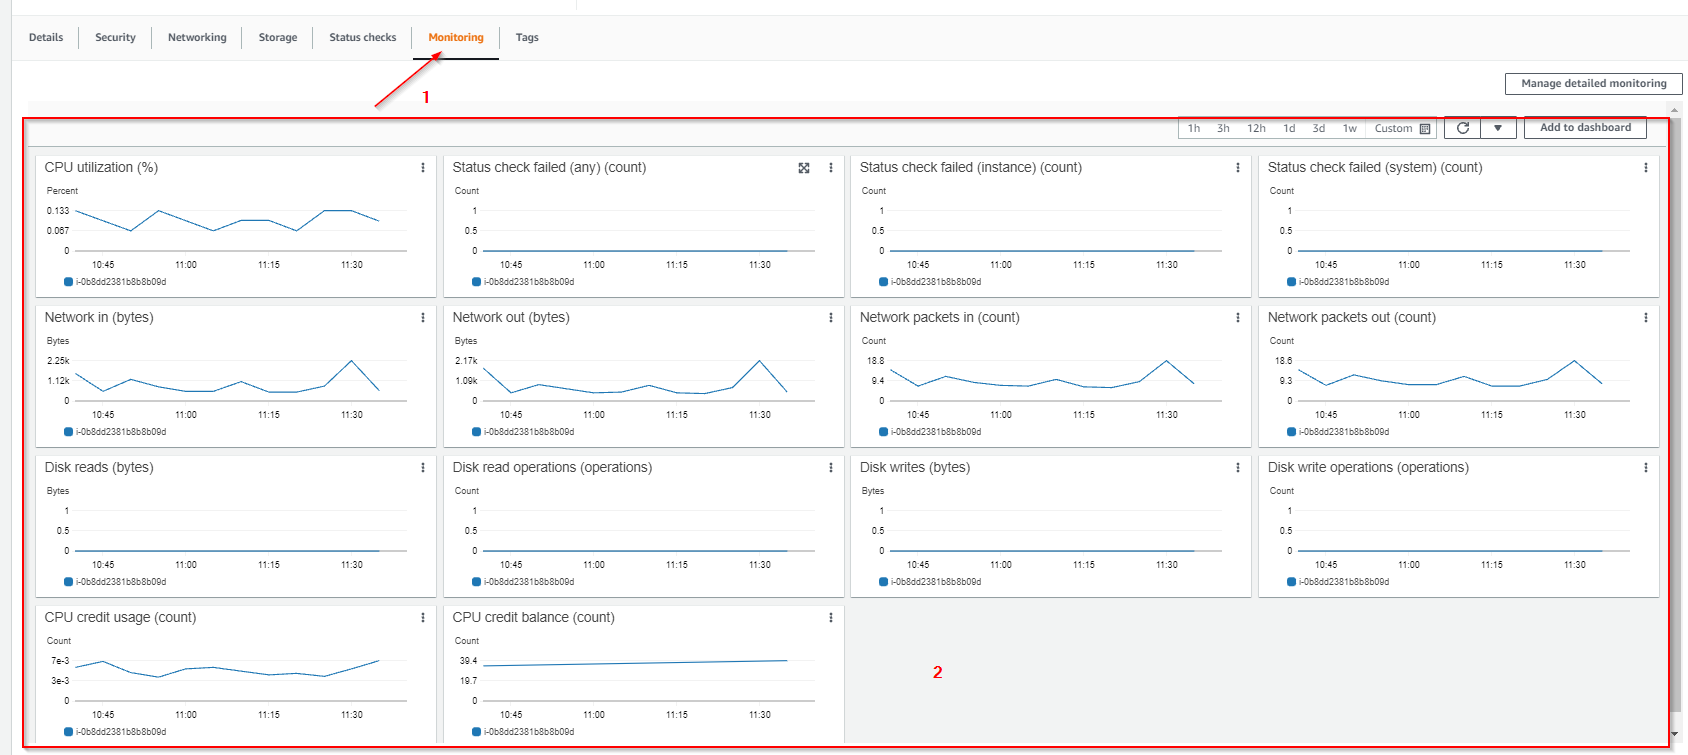
Related post - How to create a monitoring alert for EC2 instances (AWS)
Sources:
Enable or turn off detailed monitoring for your instances - Amazon Elastic Compute Cloud
Enable or turn off detailed monitoring for your EC2 instance.
 Amazon Elastic Compute Cloud