

This article has not been completed yet. However, it may already contain helpful Information and therefore it has been published at this stage
1. Hydrating MSLab
Task 1 - Check hardware requirements
- Client or Server Operating System that supports Hyper-V (Windows 10 Pro, Windows 11 Pro or Windows Server)
- Hyper-V feature has to be enabled (tool will check it for you)
- at least 16GB RAM
- at least 100GB free space on SSD
Optionally you can setup VM in Azure Virtual Machine.
Task 2 - Download all necessary files
In this task you will download all necessary files required to setup MSLab.
1. Download MSLab scripts by navigating to MSLab Download
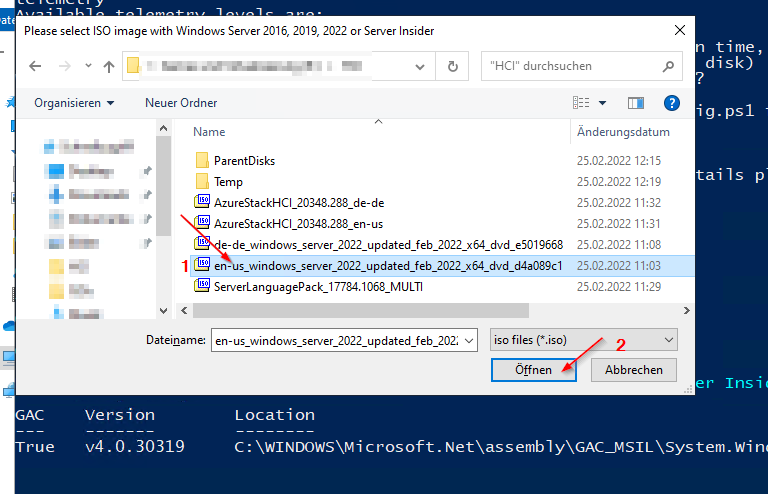
2. Dowload latest Windows Server ISO - either from MSDN Downloads, Eval Center or VLSC Portal
3. Download latest Azure Stack HCI OS ISO
Task 3 - Hydrate lab
1. Unzip files from downloaded zip into a folder on your SSD.
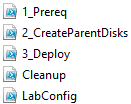
2. Replace content of LabConfig.ps1 with following code. You can double-click the file to open it in Notepad.
$LabConfig=@{ DomainAdminName='LabAdmin'; AdminPassword='P@$$w0rd!'; Prefix = 'MSLab-' ; DCEdition='4'; Internet=$true ; AdditionalNetworksConfig=@(); VMs=@()}
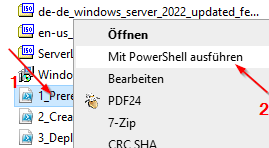
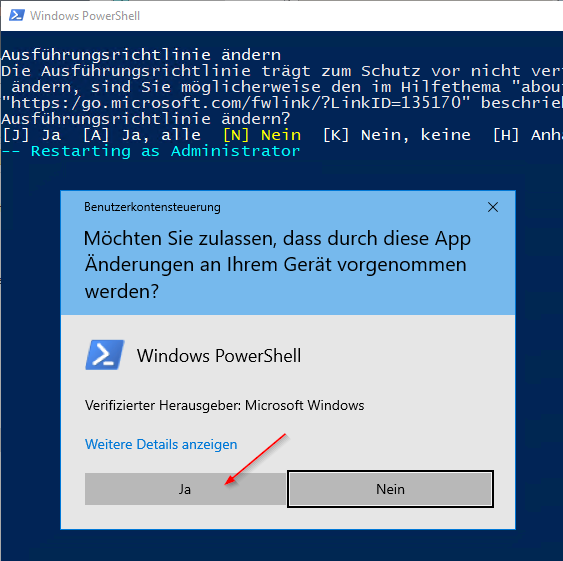
3. Right-click "1_Prereq.ps1" and select Run with PowerShell
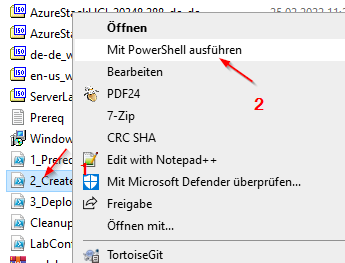
4. Right-click "2_CreateParentDisks.ps1" and select Run with PowerShell

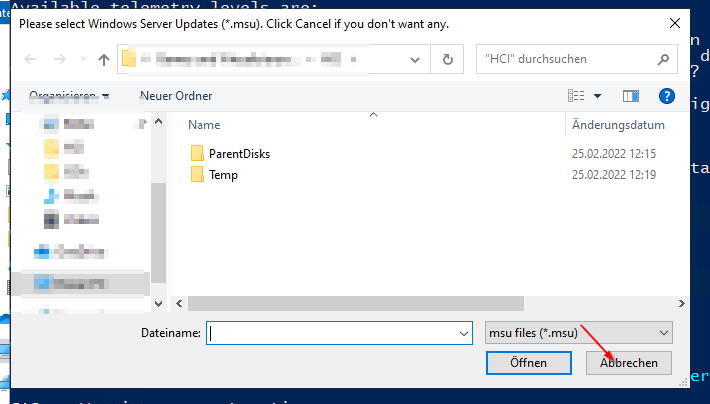
5. When asked for Windows Server Update (msu), click cancel
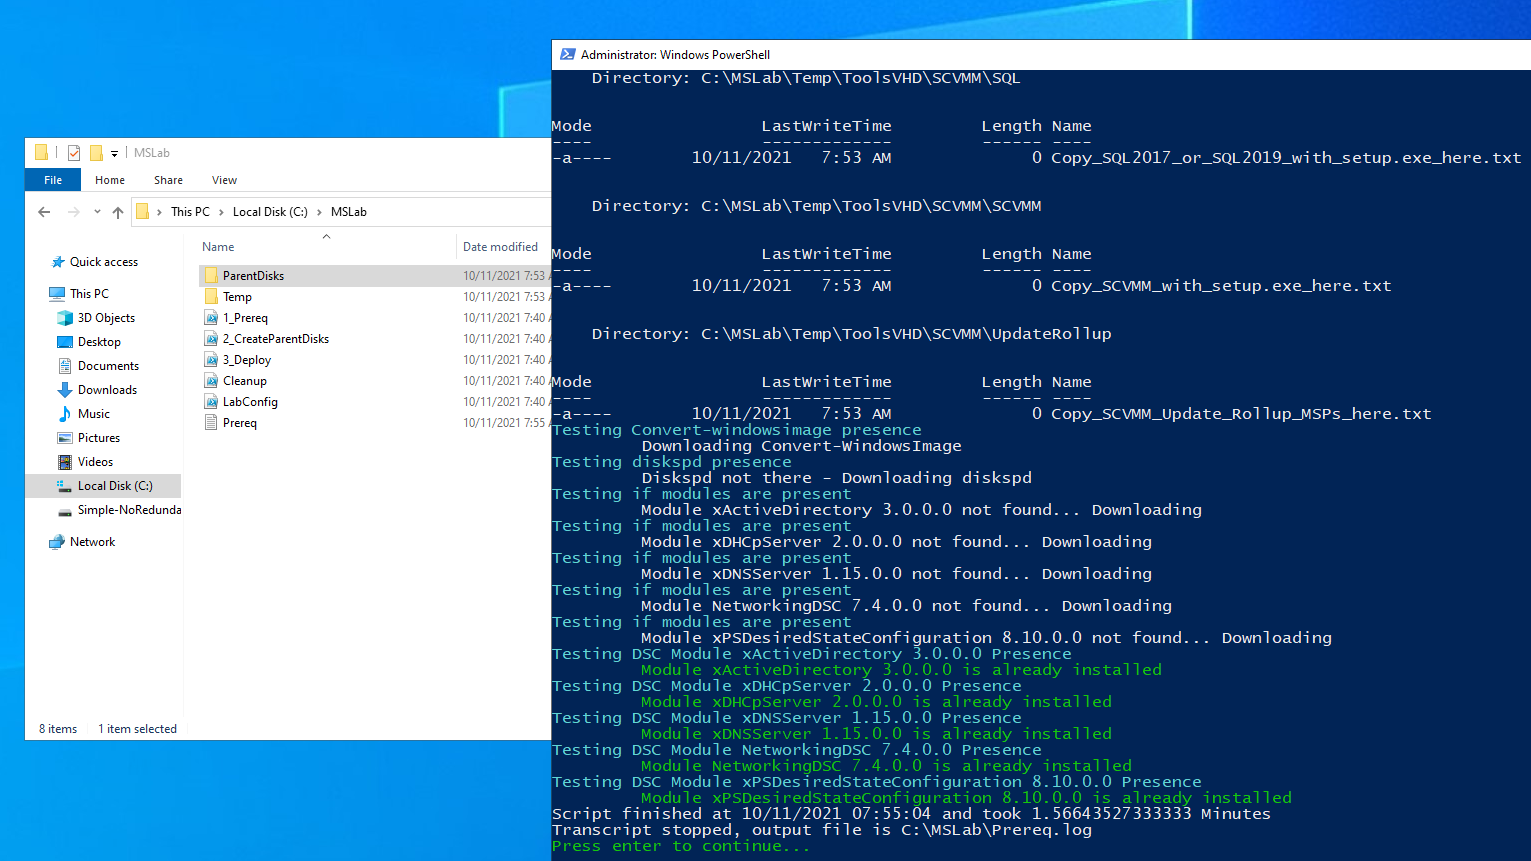
Script will now create Domain Controller and Windows Server 2022 parent disks. It will take 15-30 minutes to finish.
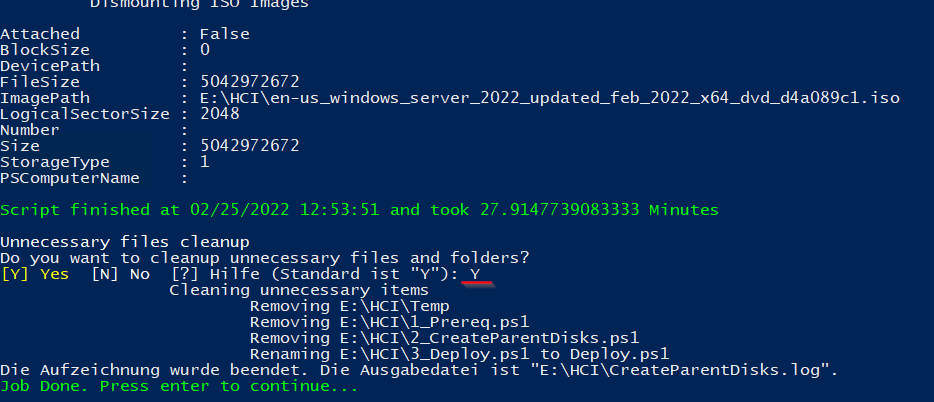
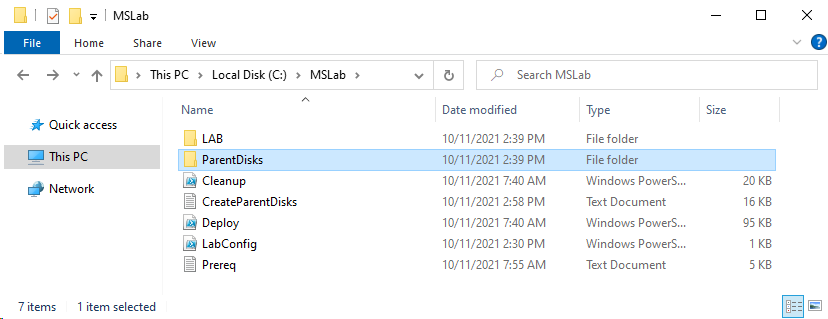
Expected result
In MSLab folder you should see LAB and ParentDisks folder along with three PowerShell scripts and log files.
Task 4 - Create Azure Stack HCI parent disk
1. Navigate to MSLab folder. In MSLab folder, open ParentDisks folder.
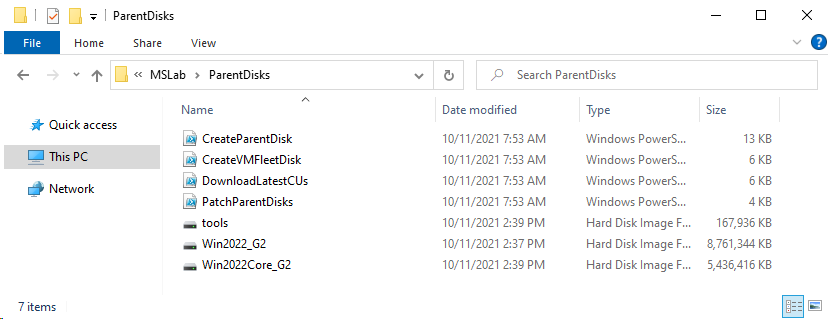
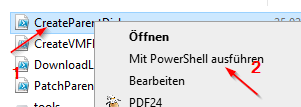
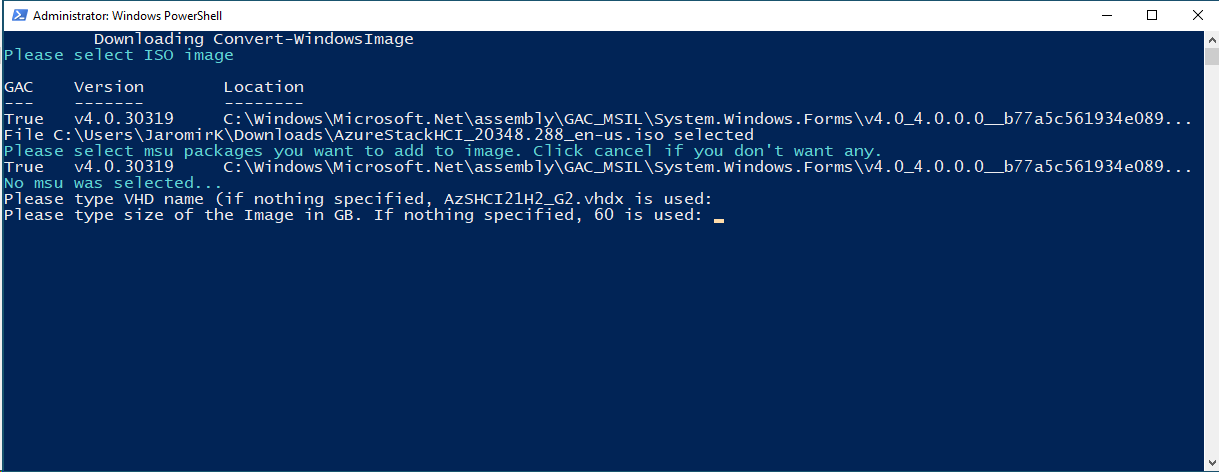
- Right-click on "CreateParentDisk.ps1" and select Run with PowerShell

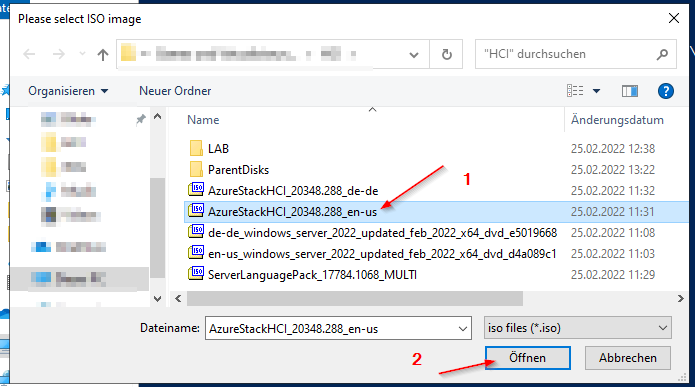
2. When asked for Windows Server Update (msu), click cancel

3. When asked for VHD Name and size, just hit enter.
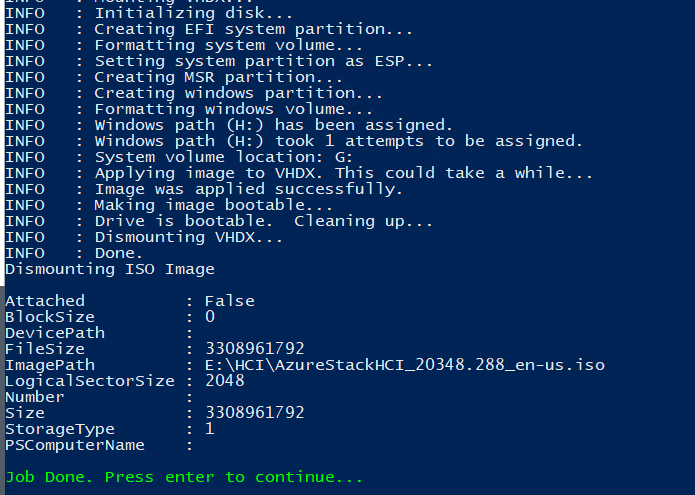
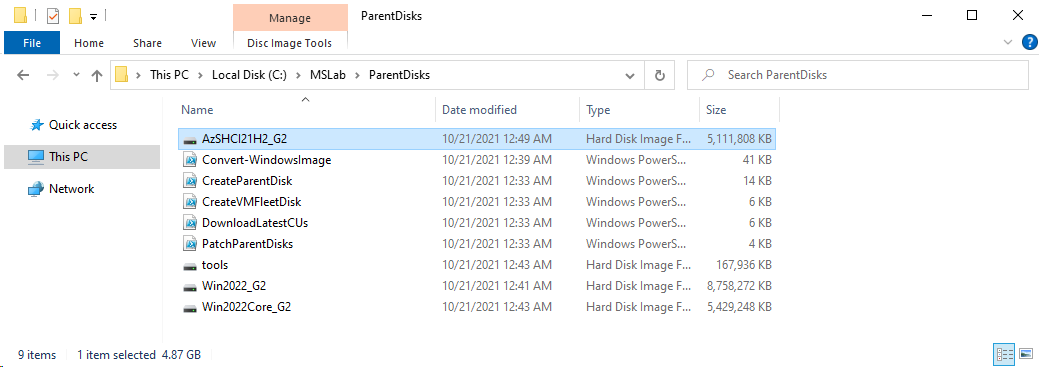
Expected result
Azure Stack HCI 21H2 image will be created in ParentDisks folder.
2. Deploy Azure Stack HCI Cluster with Windows Admin Center
Task 1 - Deploy VMs
1. Replace content of LabConfig.ps1 with following code. You can double-click the file to open it in Notepad.
# DC
$LabConfig=@{ DomainAdminName='LabAdmin'; AdminPassword='P@$$w0rd!'; Prefix = 'MSLab-' ; DCEdition='4'; Internet=$true ; AdditionalNetworksConfig=@(); VMs=@()}

# HCI Nodes (pre-domain joined)
1..4 | ForEach-Object {$VMNames="AzSHCI" ; $LABConfig.VMs += @{ VMName = "$VMNames$_" ; Configuration = 'S2D' ; ParentVHD = 'AzSHCI21H2_G2.vhdx' ; HDDNumber = 12; HDDSize= 4TB ; MemoryStartupBytes= 4GB; MGMTNICs=4 ; NestedVirt=$true}}

# Windows Admin Center gateway
$LabConfig.VMs += @{ VMName = 'WACGW' ; ParentVHD = 'Win2022Core_G2.vhdx' ; MGMTNICs=1 }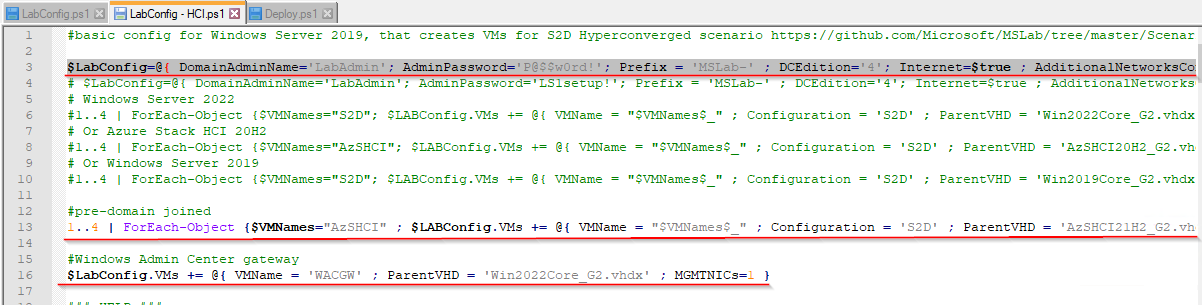
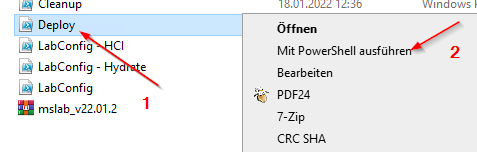
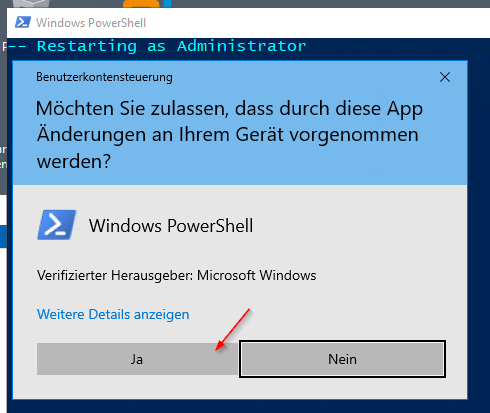
2. Right-click on "Deploy.ps1" and select Run with PowerShell
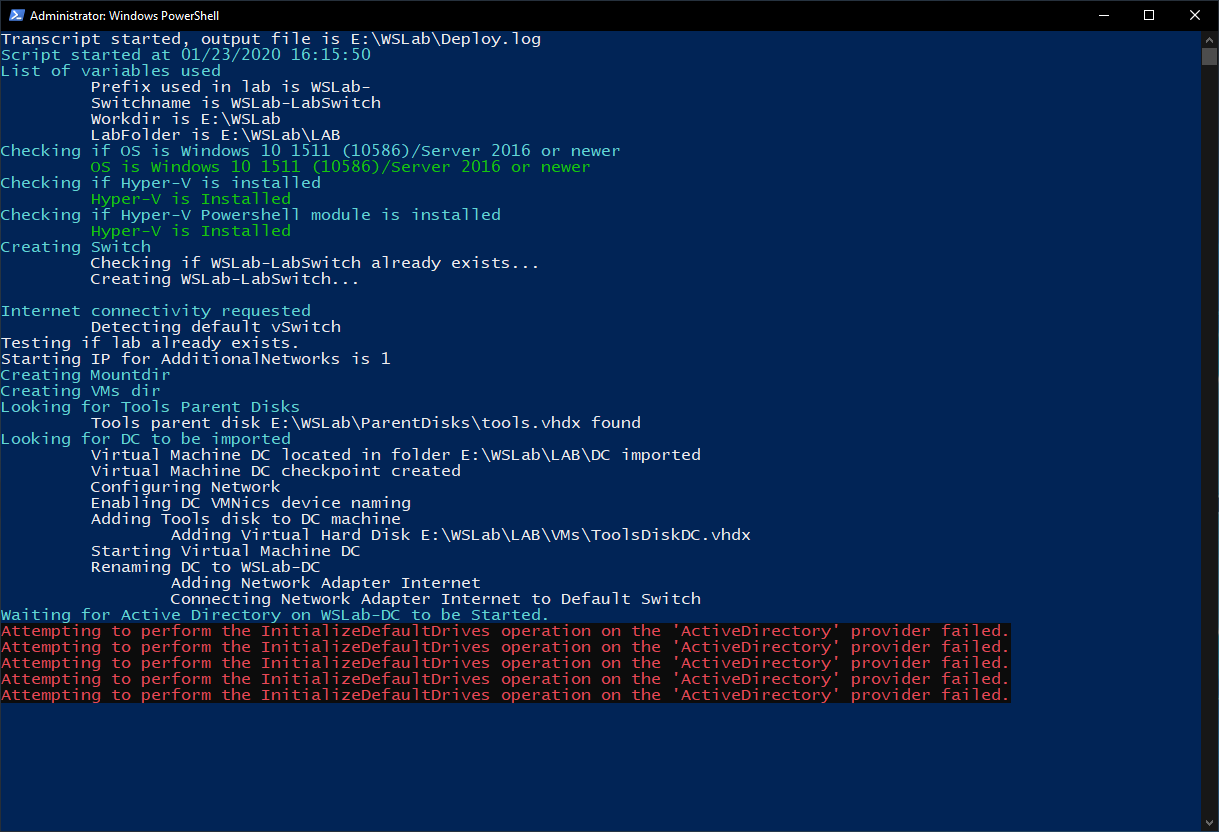
During Deployment Process you might see red errors, but these are safe to ignore as it's result of testing Active Directory availability inside Domain Controller.
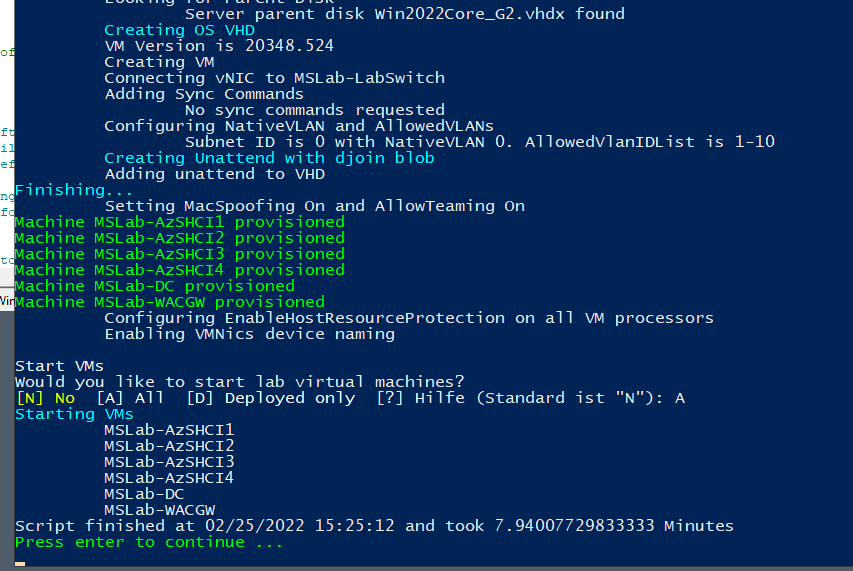
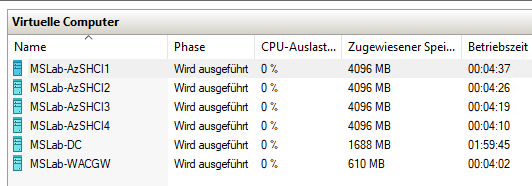
Expected result
Task 2 - Deploy Windows Admin Center in GW mode
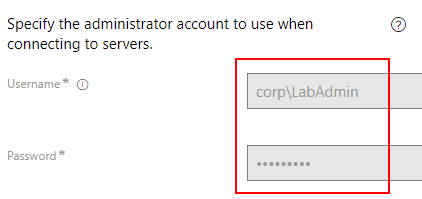
- Log in Into DC virtual machine with following credentials
Username: corp\LabAdmin Password: P@$$word!
- From start menu, run PowerShell as administrator
$GatewayServerName="WACGW"
#Download Windows Admin Center if not present
if (-not (Test-Path -Path "$env:USERPROFILE\Downloads\WindowsAdminCenter.msi")){
    Start-BitsTransfer -Source https://aka.ms/WACDownload -Destination "$env:USERPROFILE\Downloads\WindowsAdminCenter.msi"
}
#Create PS Session and copy install files to remote server
Invoke-Command -ComputerName $GatewayServerName -ScriptBlock {Set-Item -Path WSMan:\localhost\MaxEnvelopeSizekb -Value 4096}
$Session=New-PSSession -ComputerName $GatewayServerName
Copy-Item -Path "$env:USERPROFILE\Downloads\WindowsAdminCenter.msi" -Destination "$env:USERPROFILE\Downloads\WindowsAdminCenter.msi" -ToSession $Session

#Install Windows Admin Center
Invoke-Command -Session $session -ScriptBlock {
    Start-Process msiexec.exe -Wait -ArgumentList "/i $env:USERPROFILE\Downloads\WindowsAdminCenter.msi /qn /L*v log.txt REGISTRY_REDIRECT_PORT_80=1 SME_PORT=443 SSL_CERTIFICATE_OPTION=generate"
} -ErrorAction Ignore

$Session | Remove-PSSession

#add certificate to trusted root certs
start-sleep 10
$cert = Invoke-Command -ComputerName $GatewayServerName -ScriptBlock {Get-ChildItem Cert:\LocalMachine\My\ |where subject -eq "CN=Windows Admin Center"}
$cert | Export-Certificate -FilePath $env:TEMP\WACCert.cer
Import-Certificate -FilePath $env:TEMP\WACCert.cer -CertStoreLocation Cert:\LocalMachine\Root\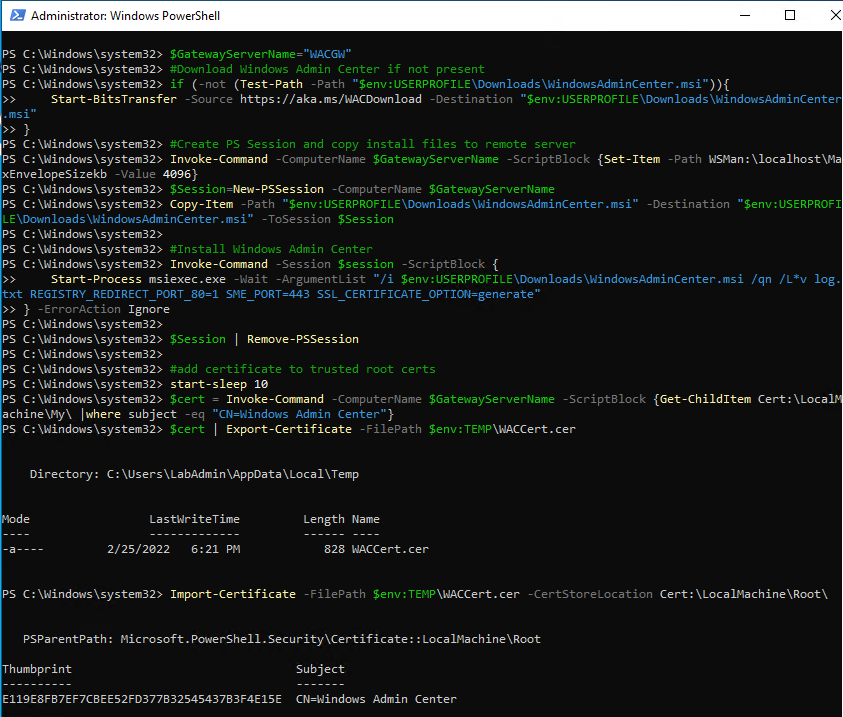
- Validate deployment by opening Edge and navigating to https://wacgw
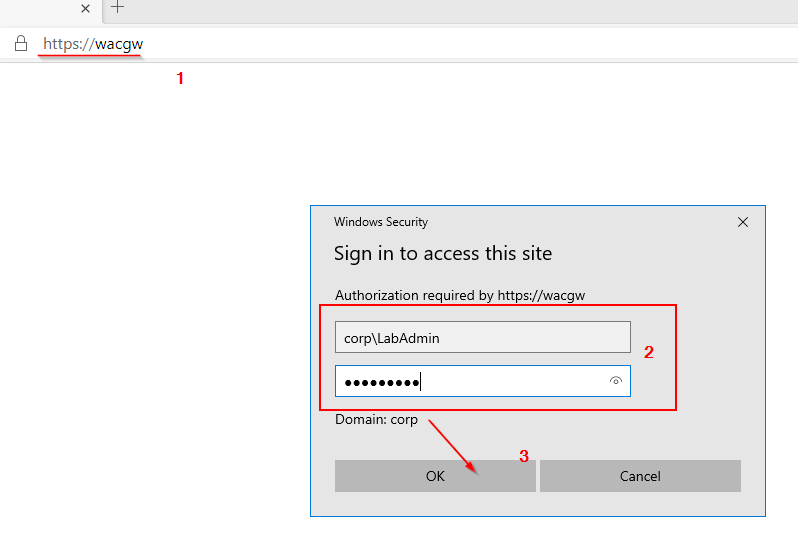
Expected result
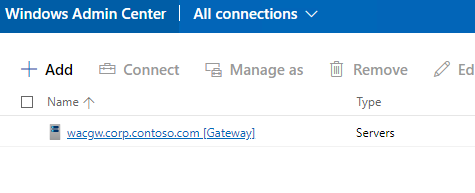
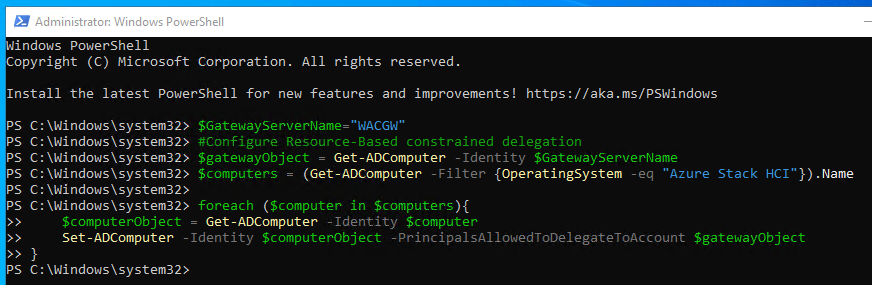
In Windows Admin Center in Gateway mode it is very useful to configure Kerberos Constrained Delegation for not to be asked for credentials when connecting to remote server - in this case Azure Stack HCI OS. To do it in PowerShell, you can use following code.
$GatewayServerName="WACGW"
#Configure Resource-Based constrained delegation
$gatewayObject = Get-ADComputer -Identity $GatewayServerName
$computers = (Get-ADComputer -Filter {OperatingSystem -eq "Azure Stack HCI"}).Name

foreach ($computer in $computers){
    $computerObject = Get-ADComputer -Identity $computer
    Set-ADComputer -Identity $computerObject -PrincipalsAllowedToDelegateToAccount $gatewayObject
}
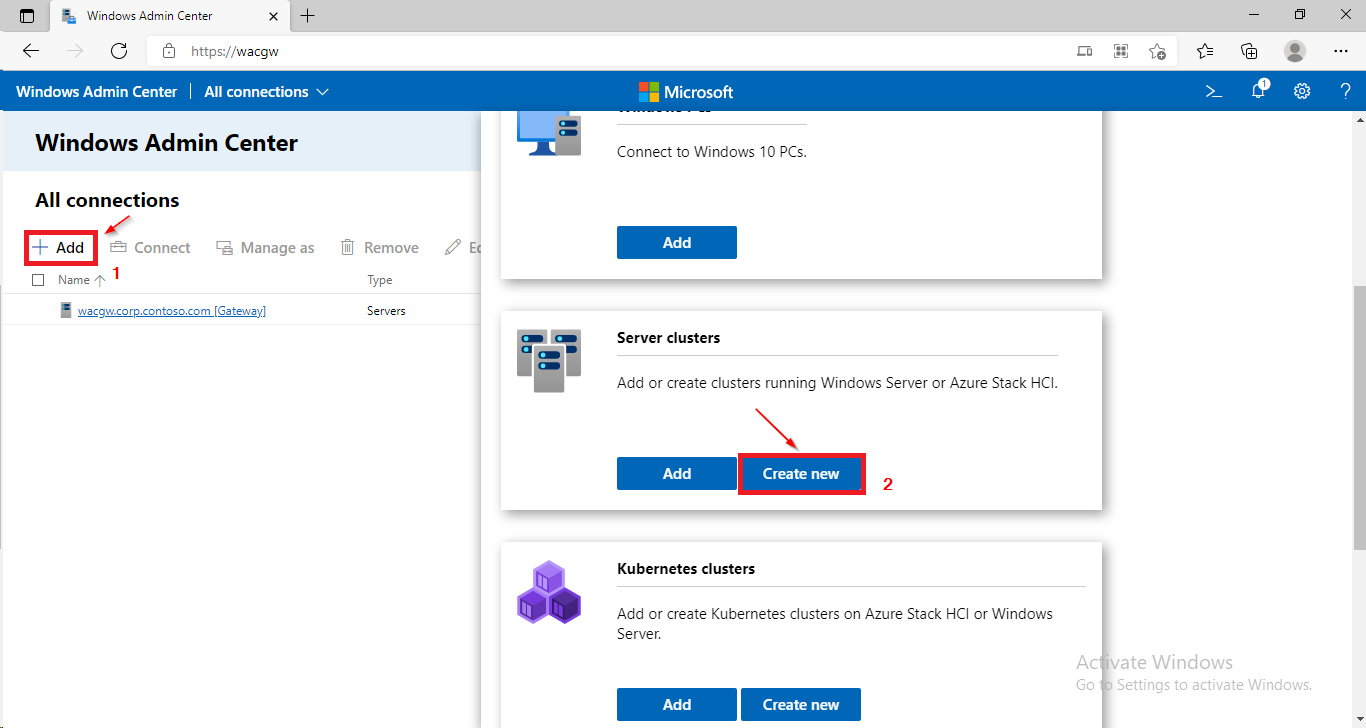
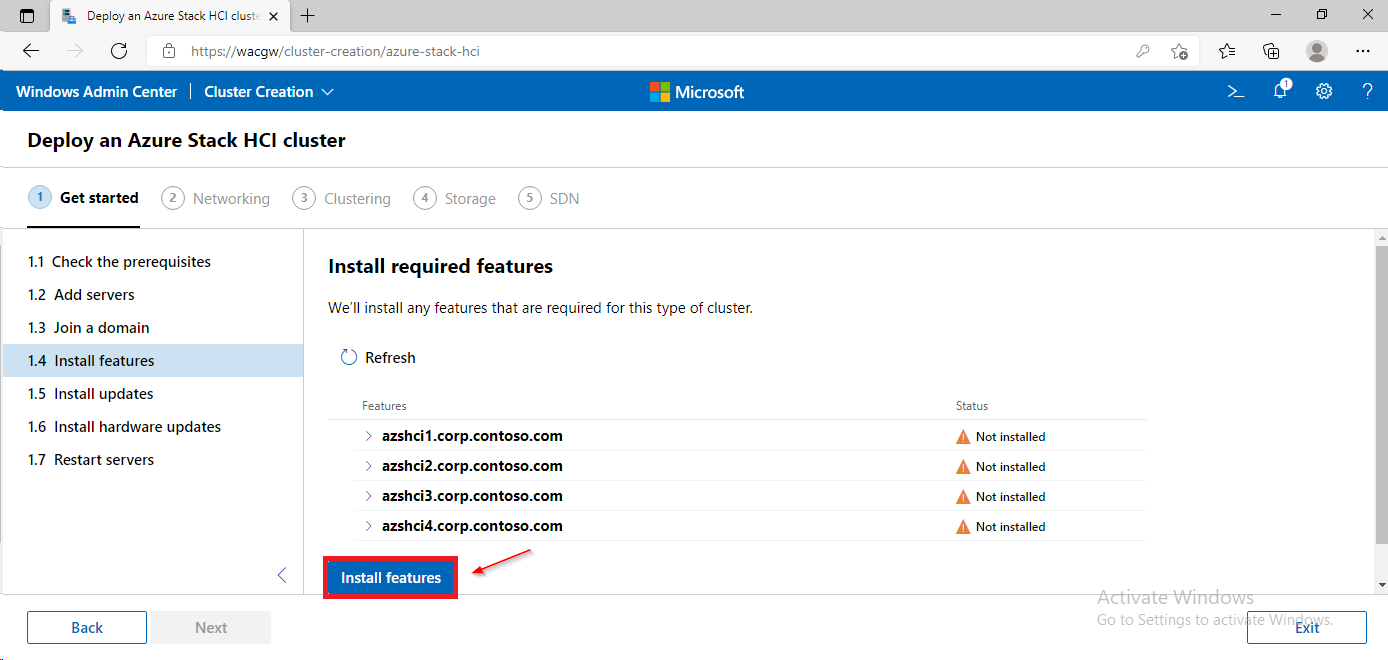
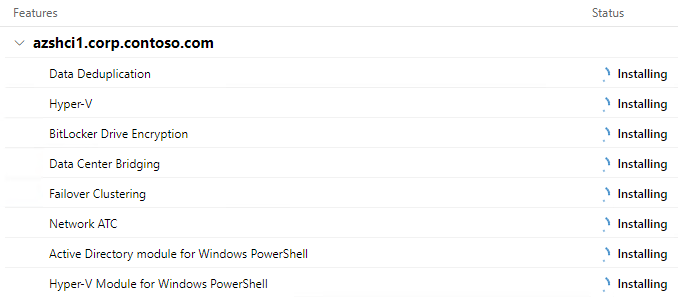
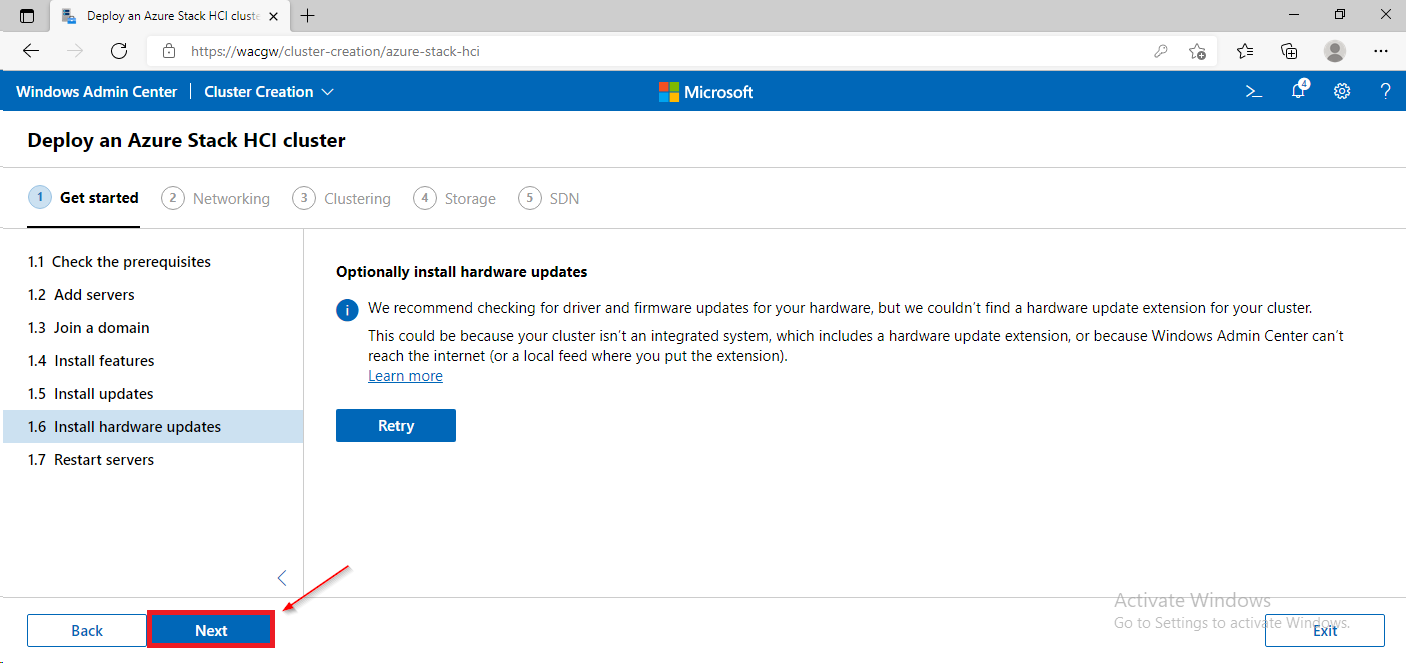
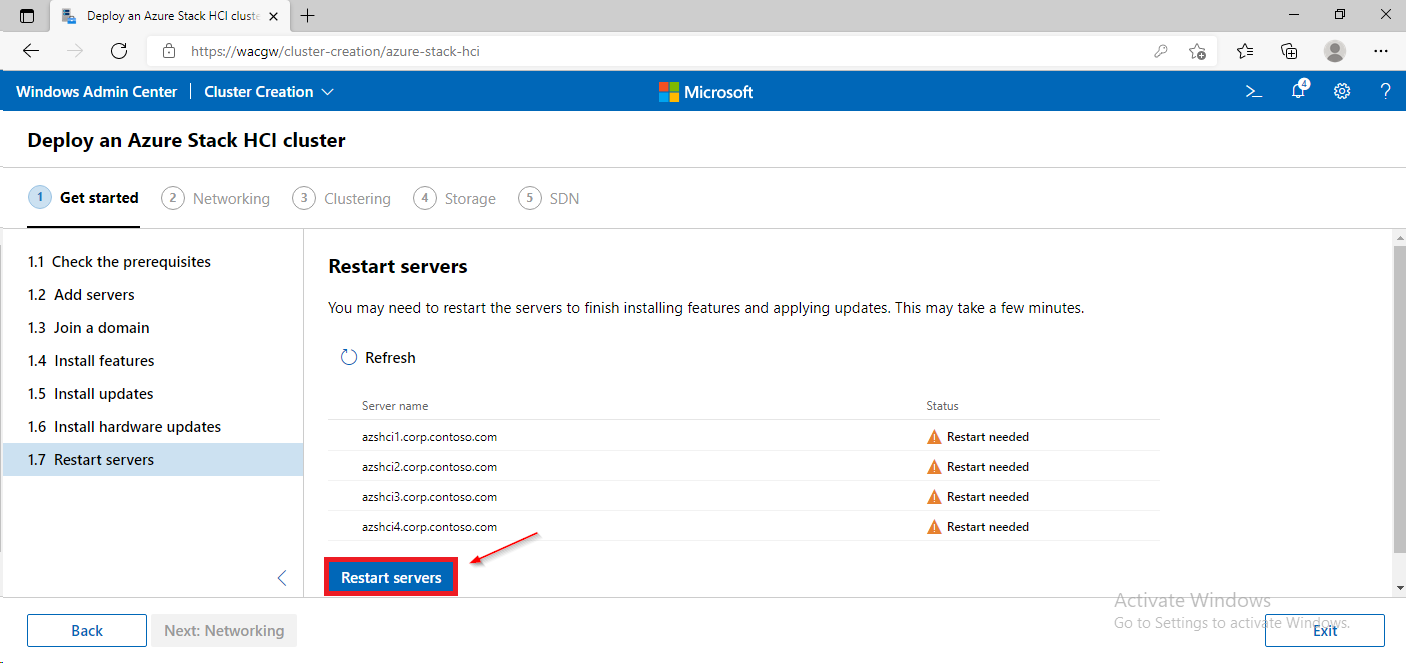
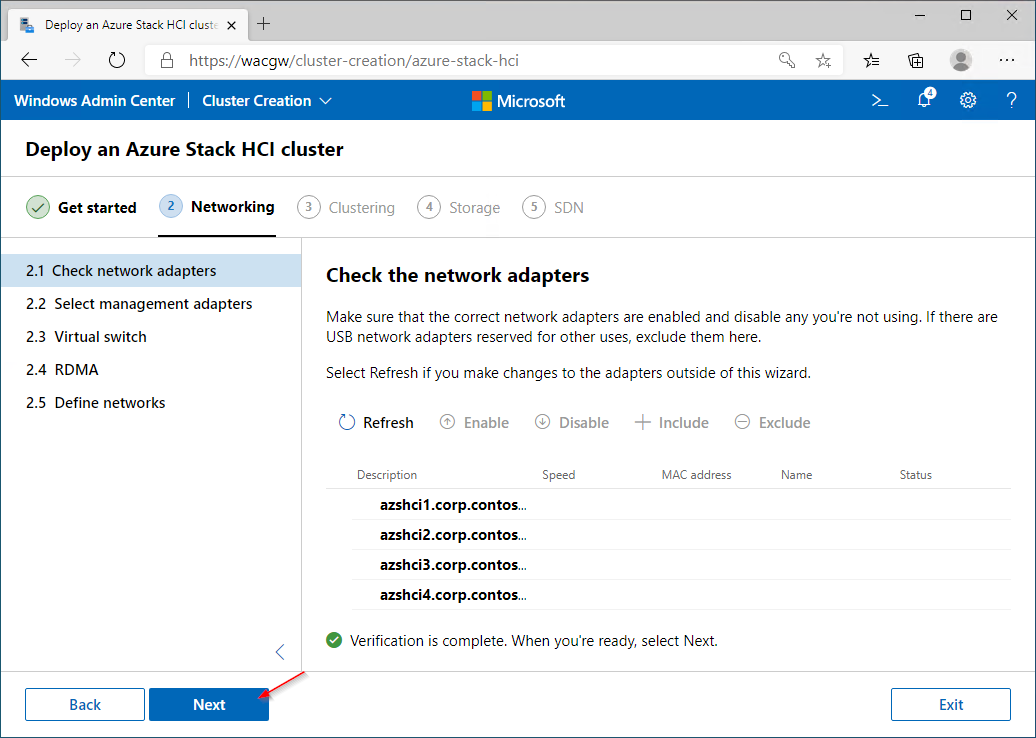
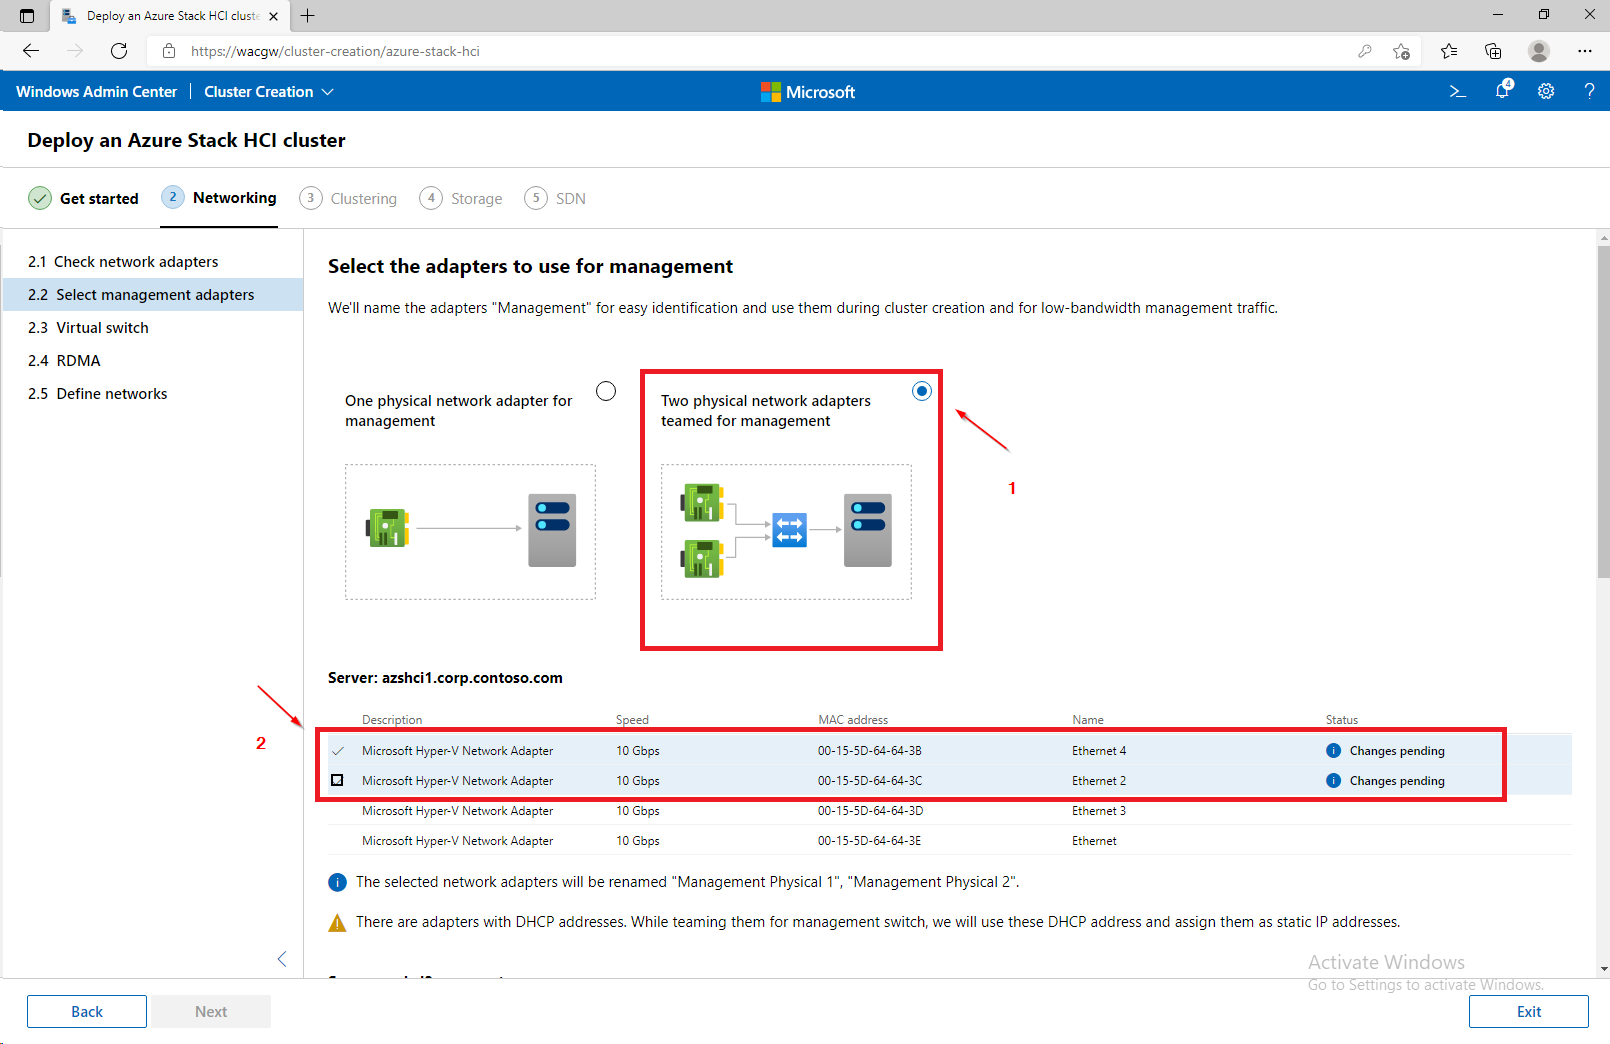
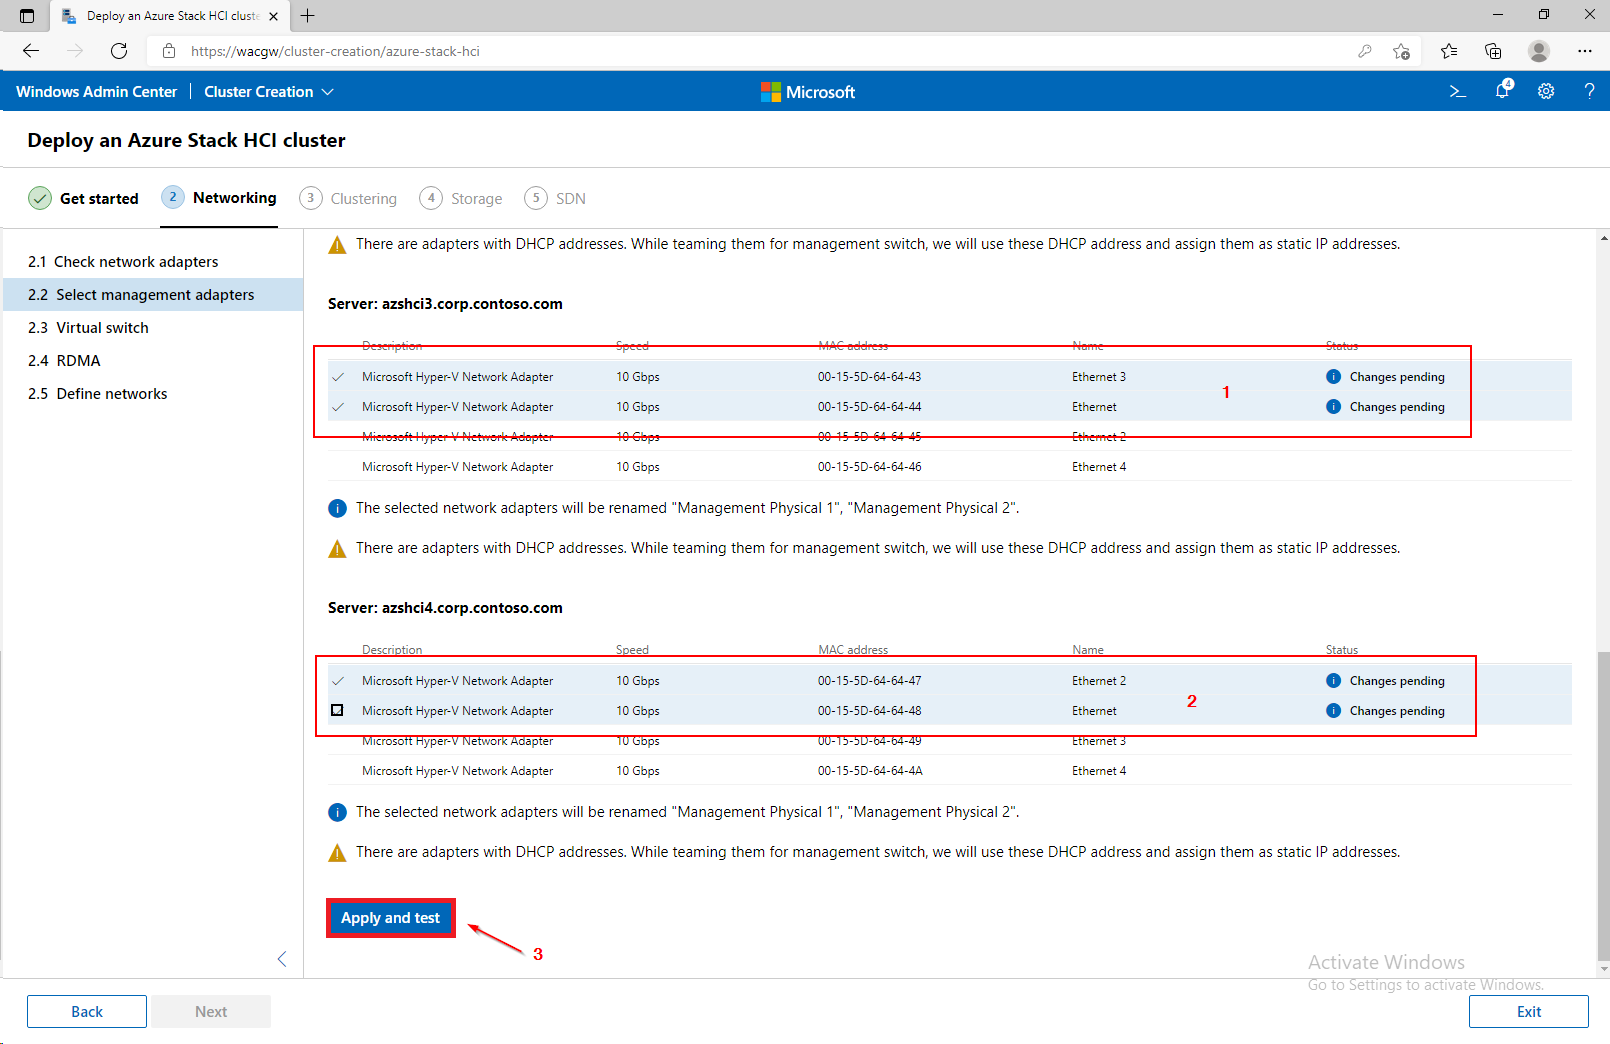
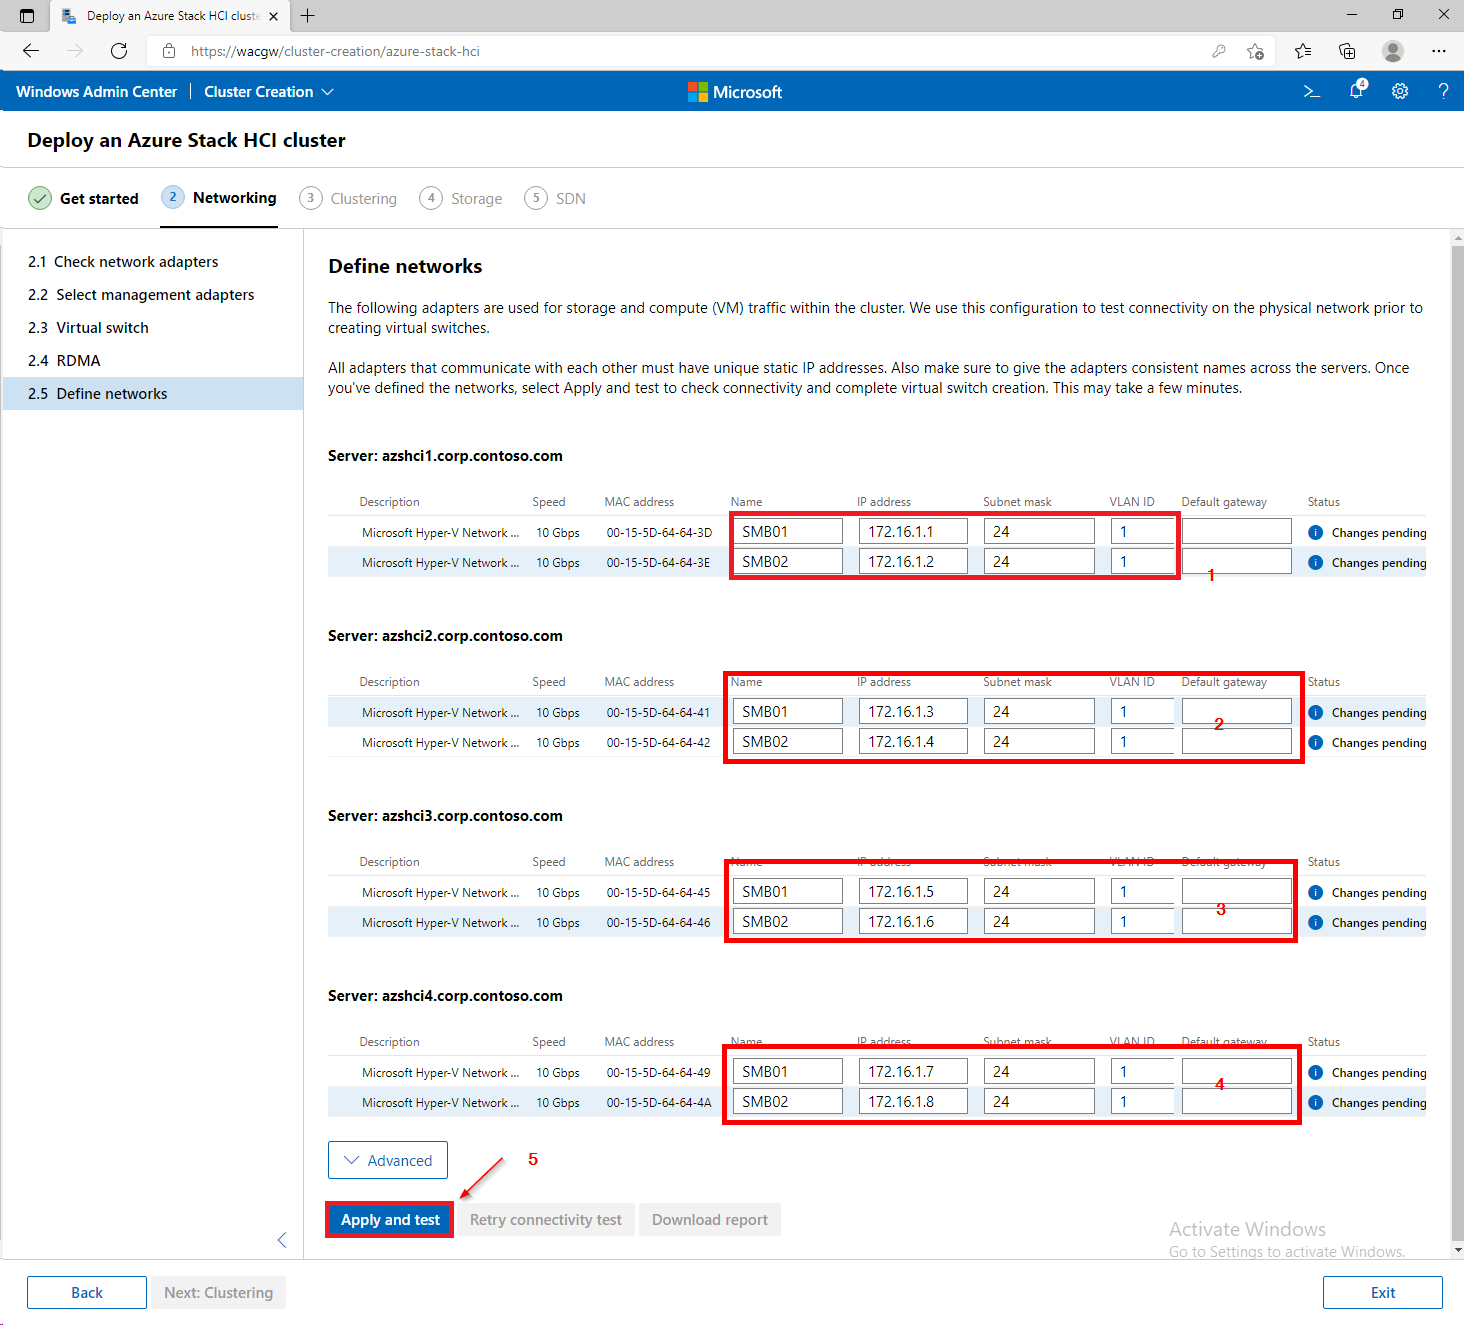
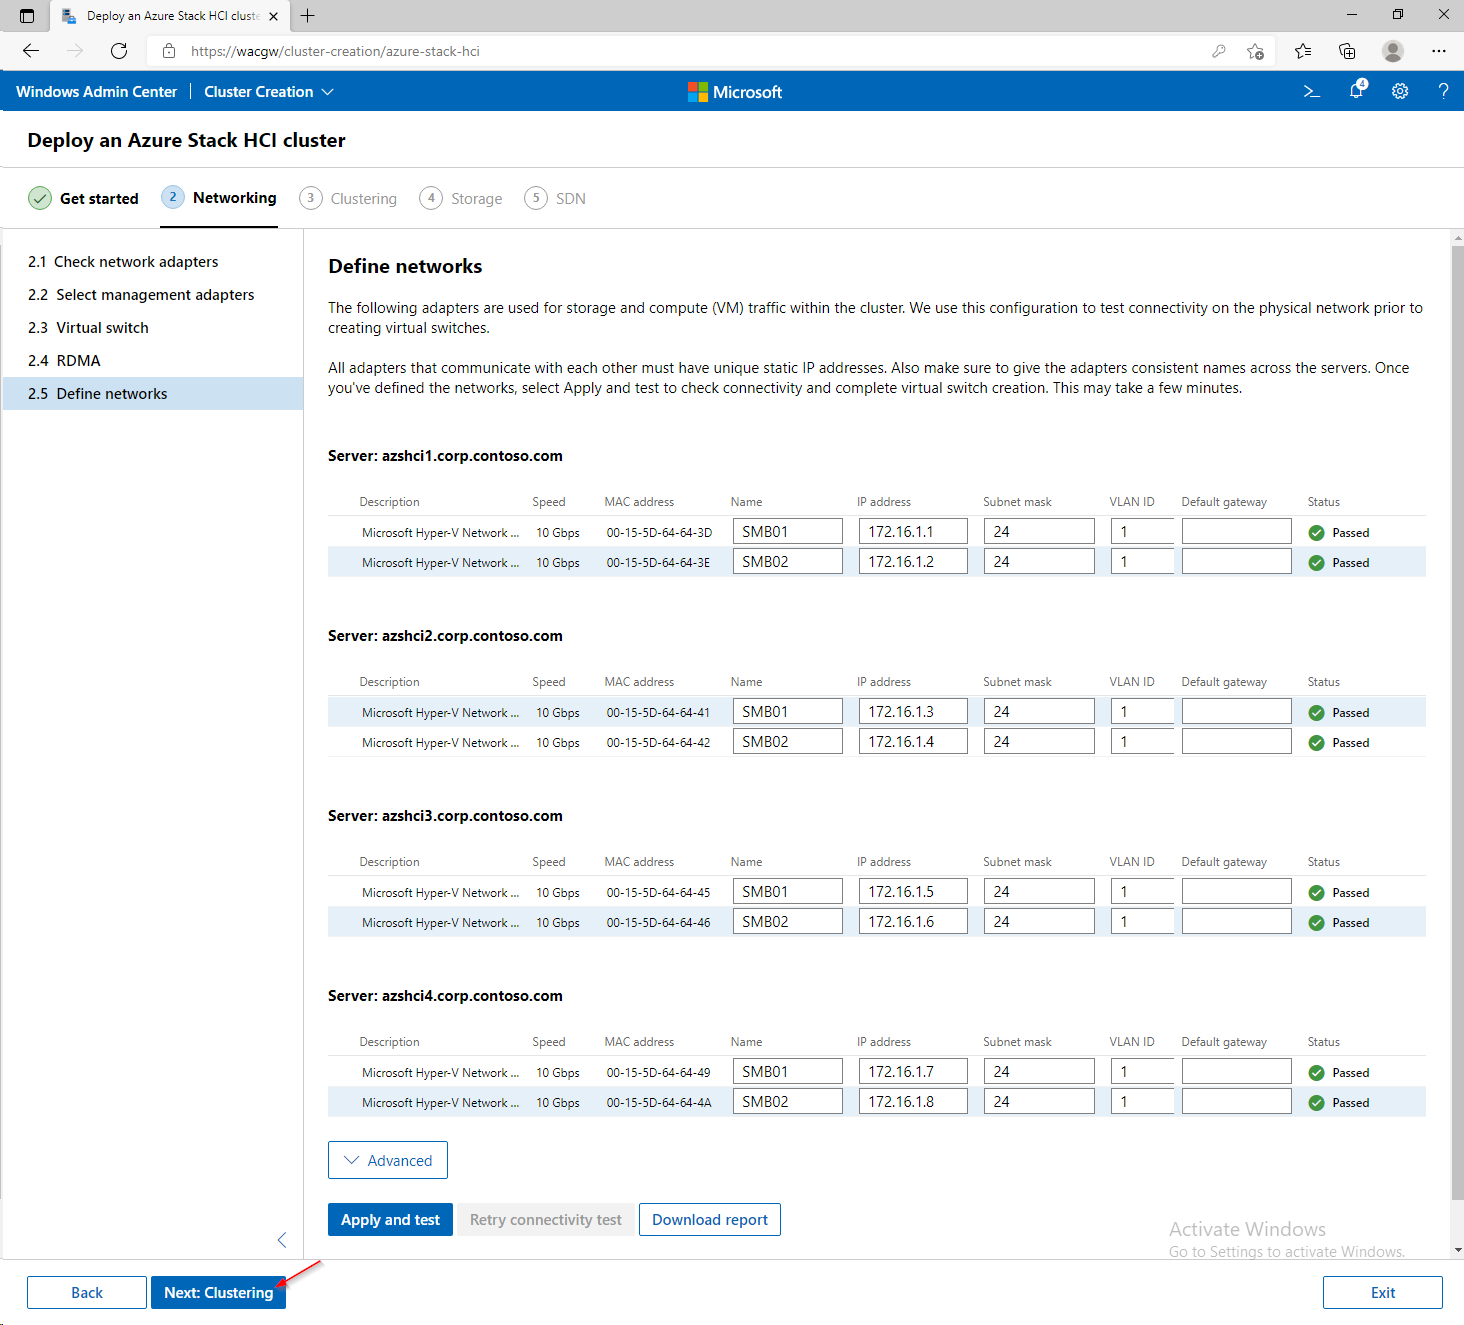
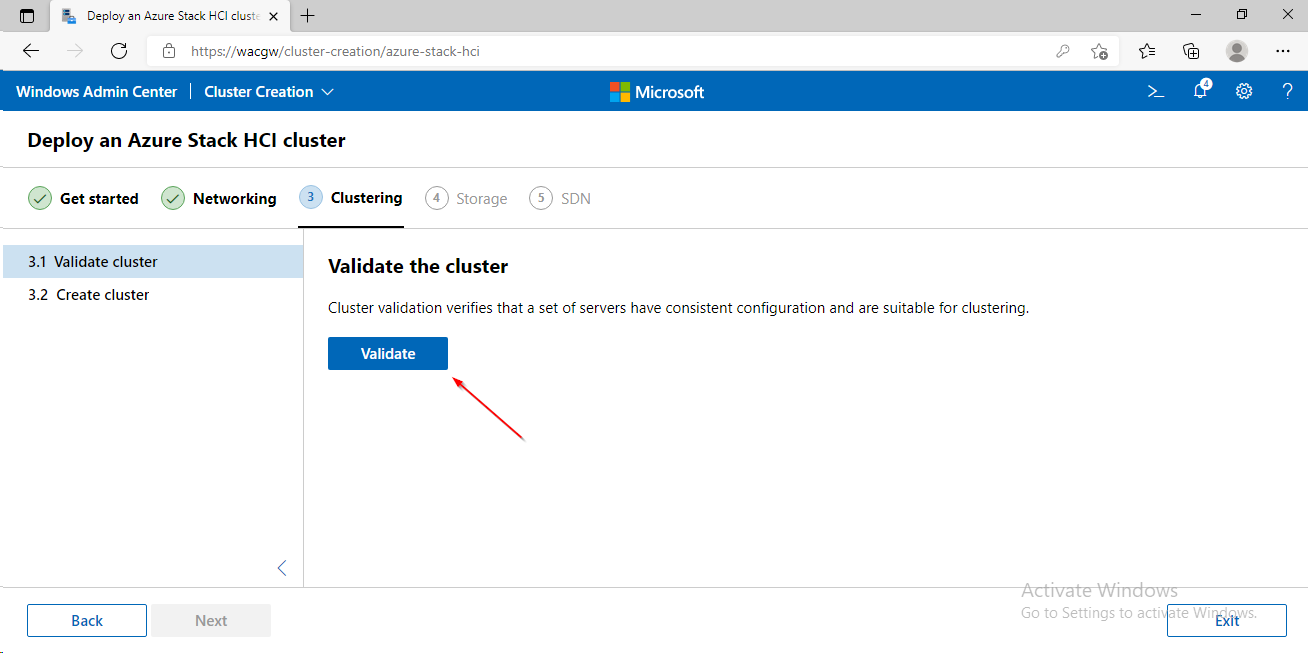
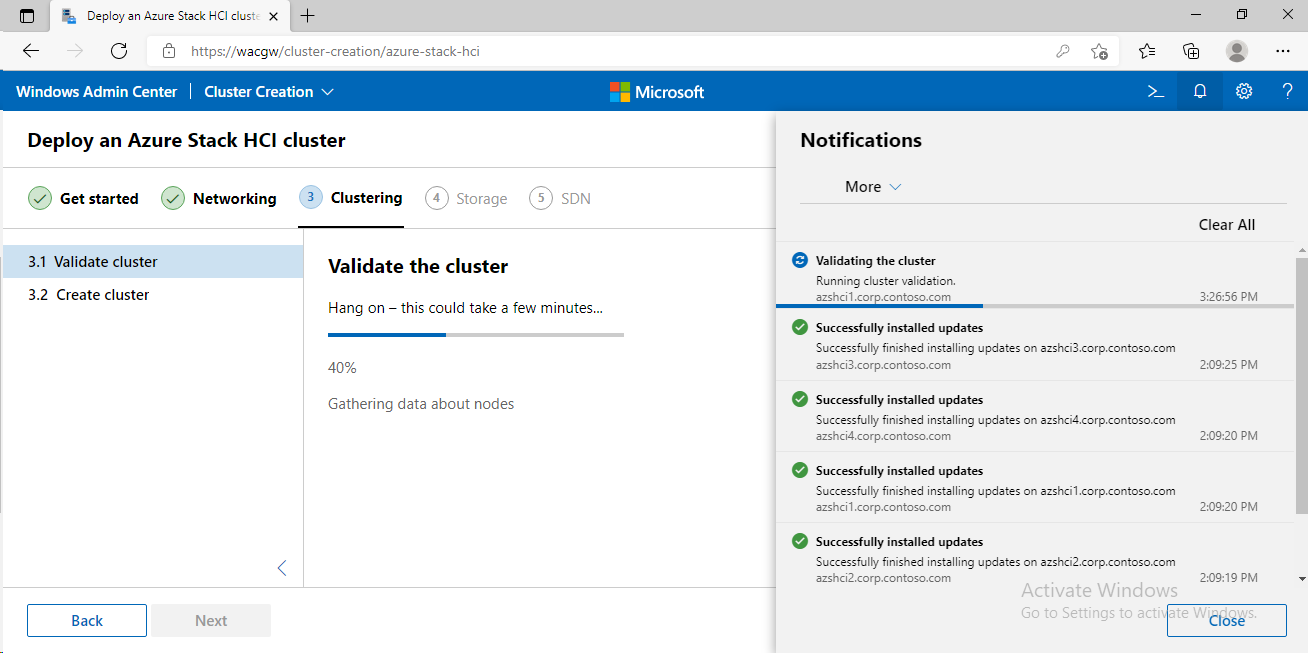
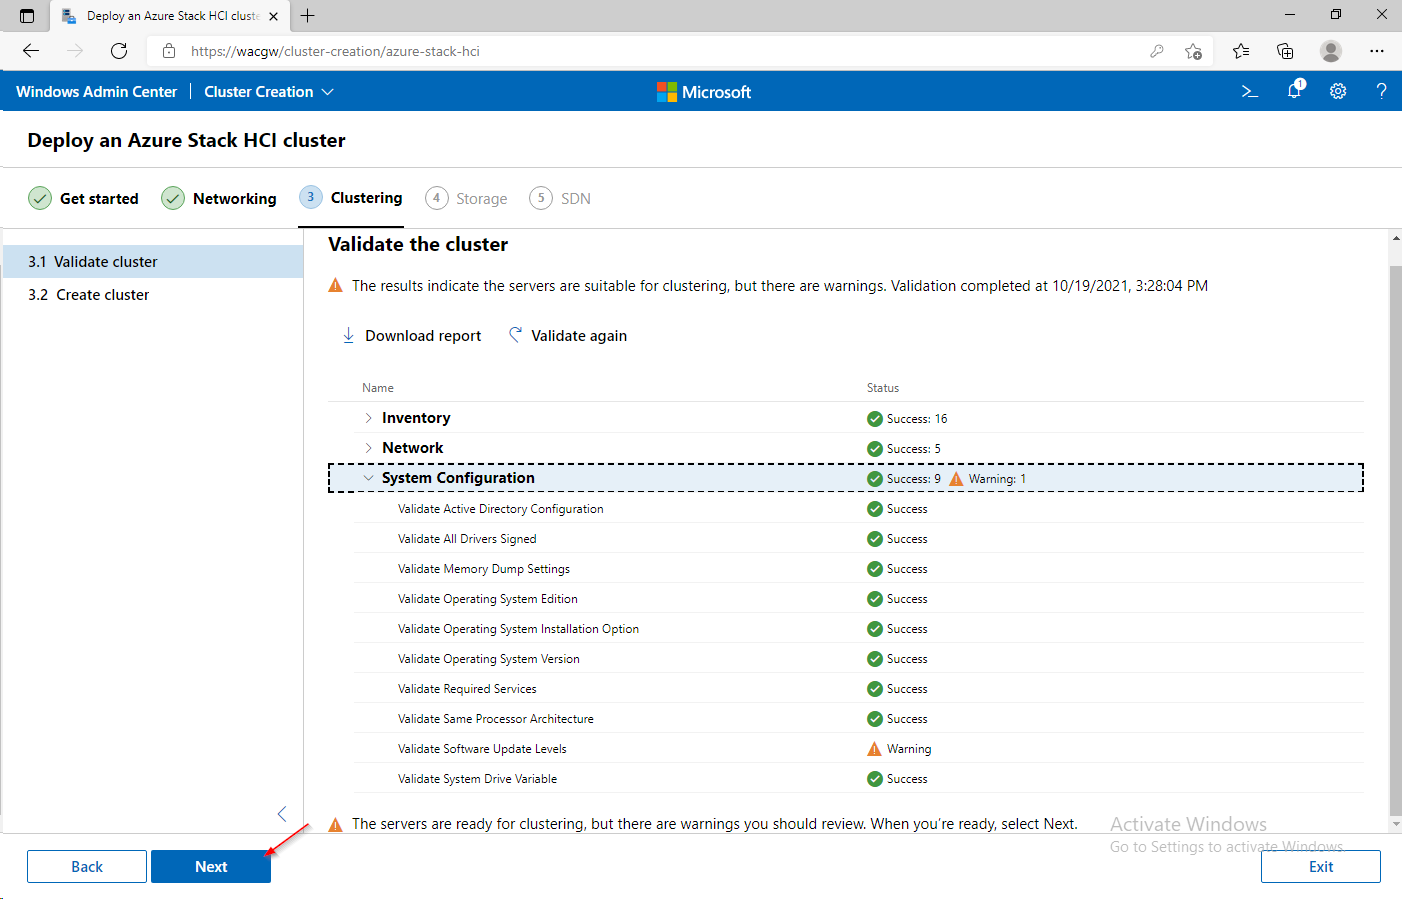
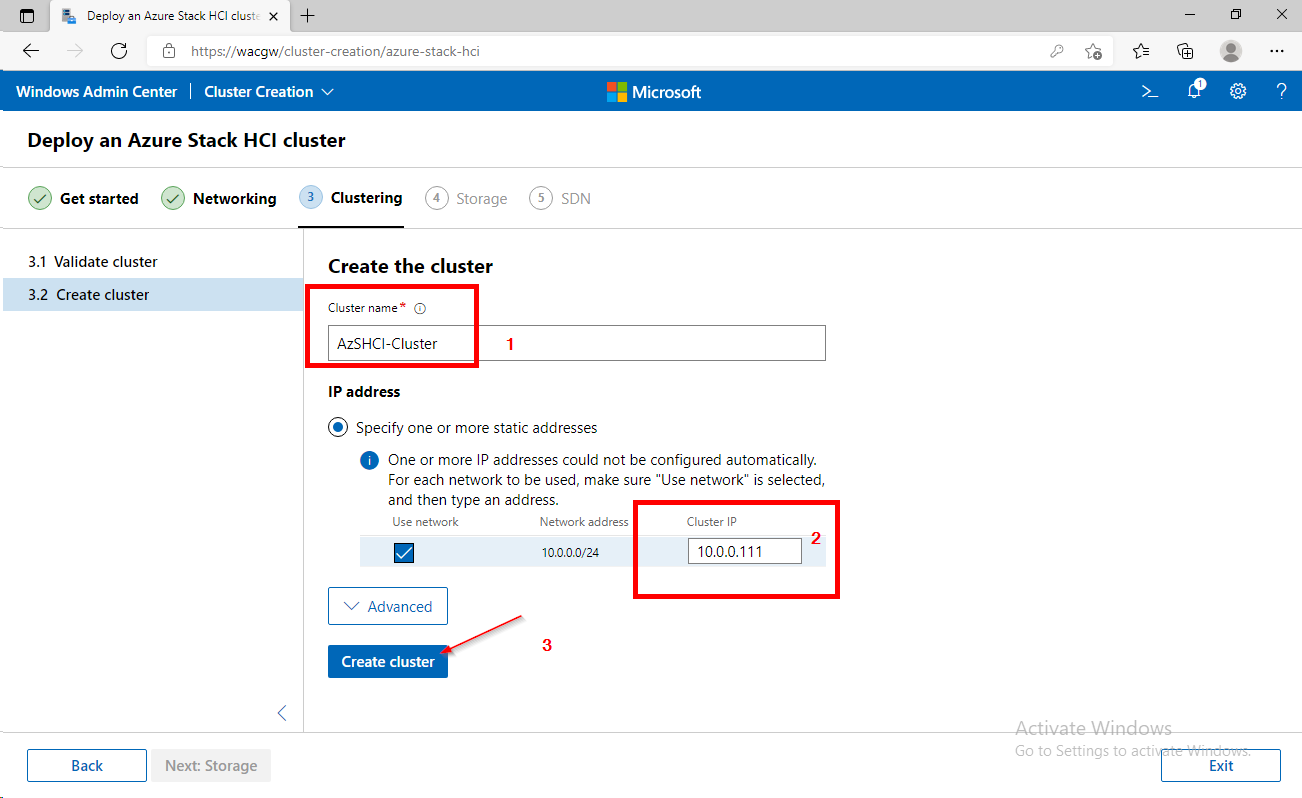
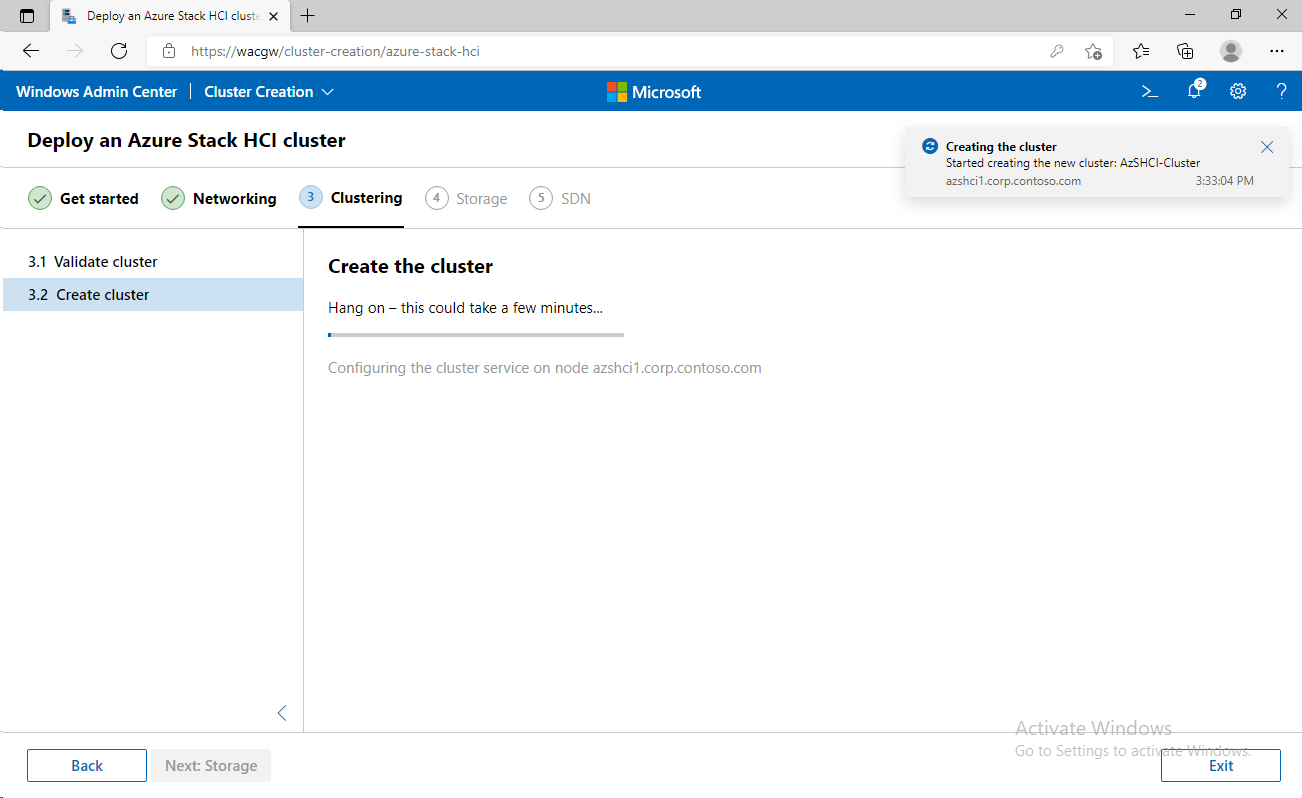
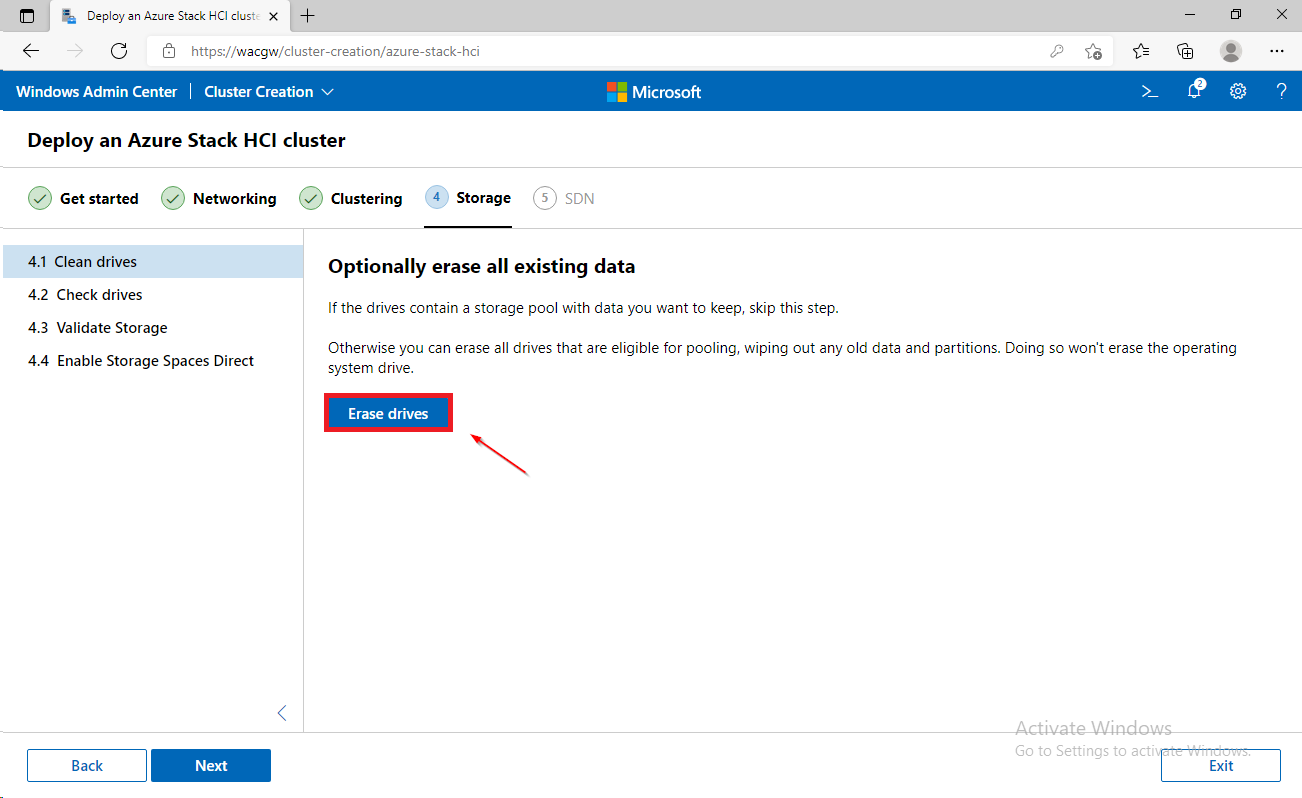
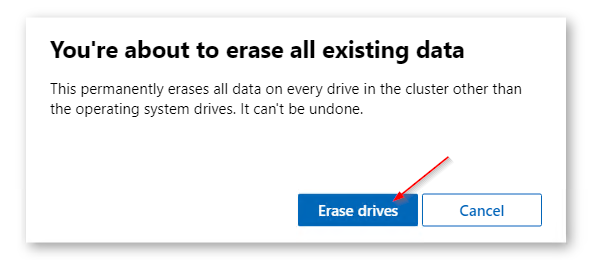
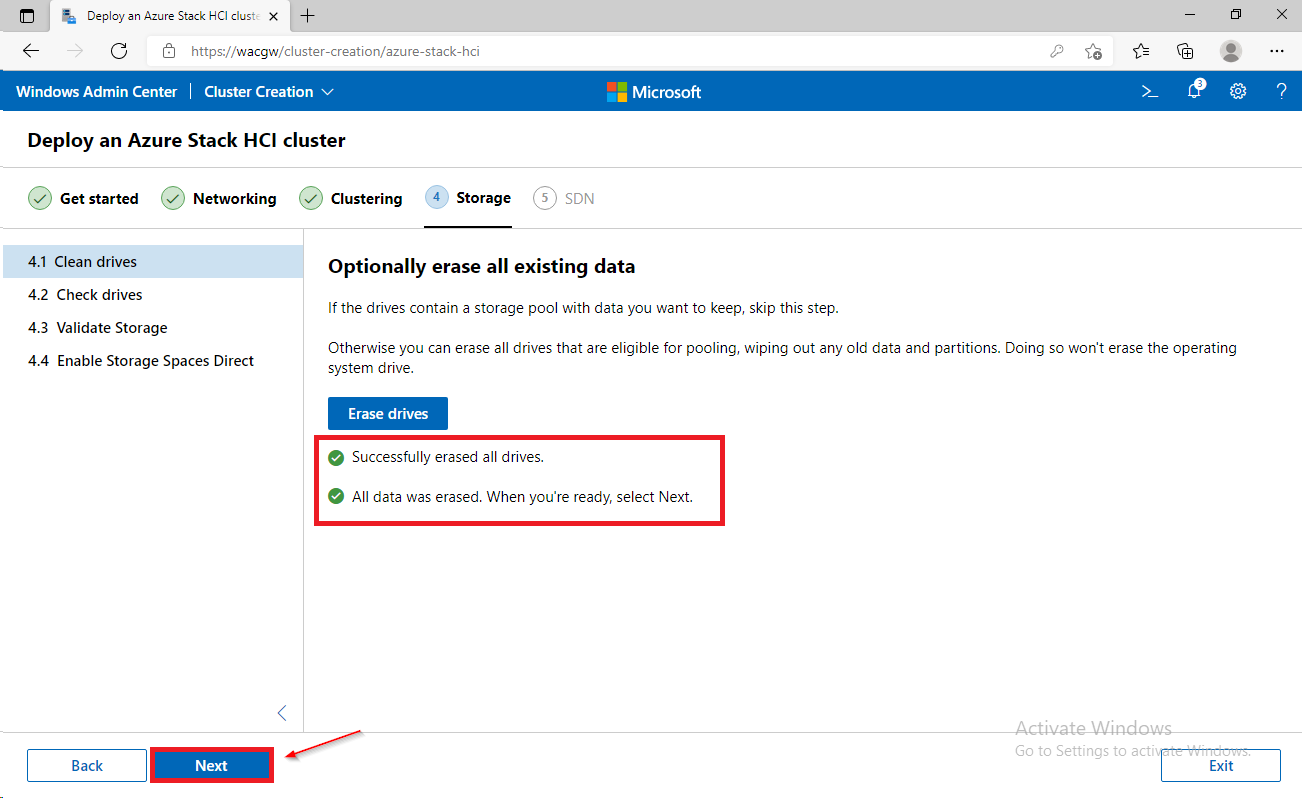
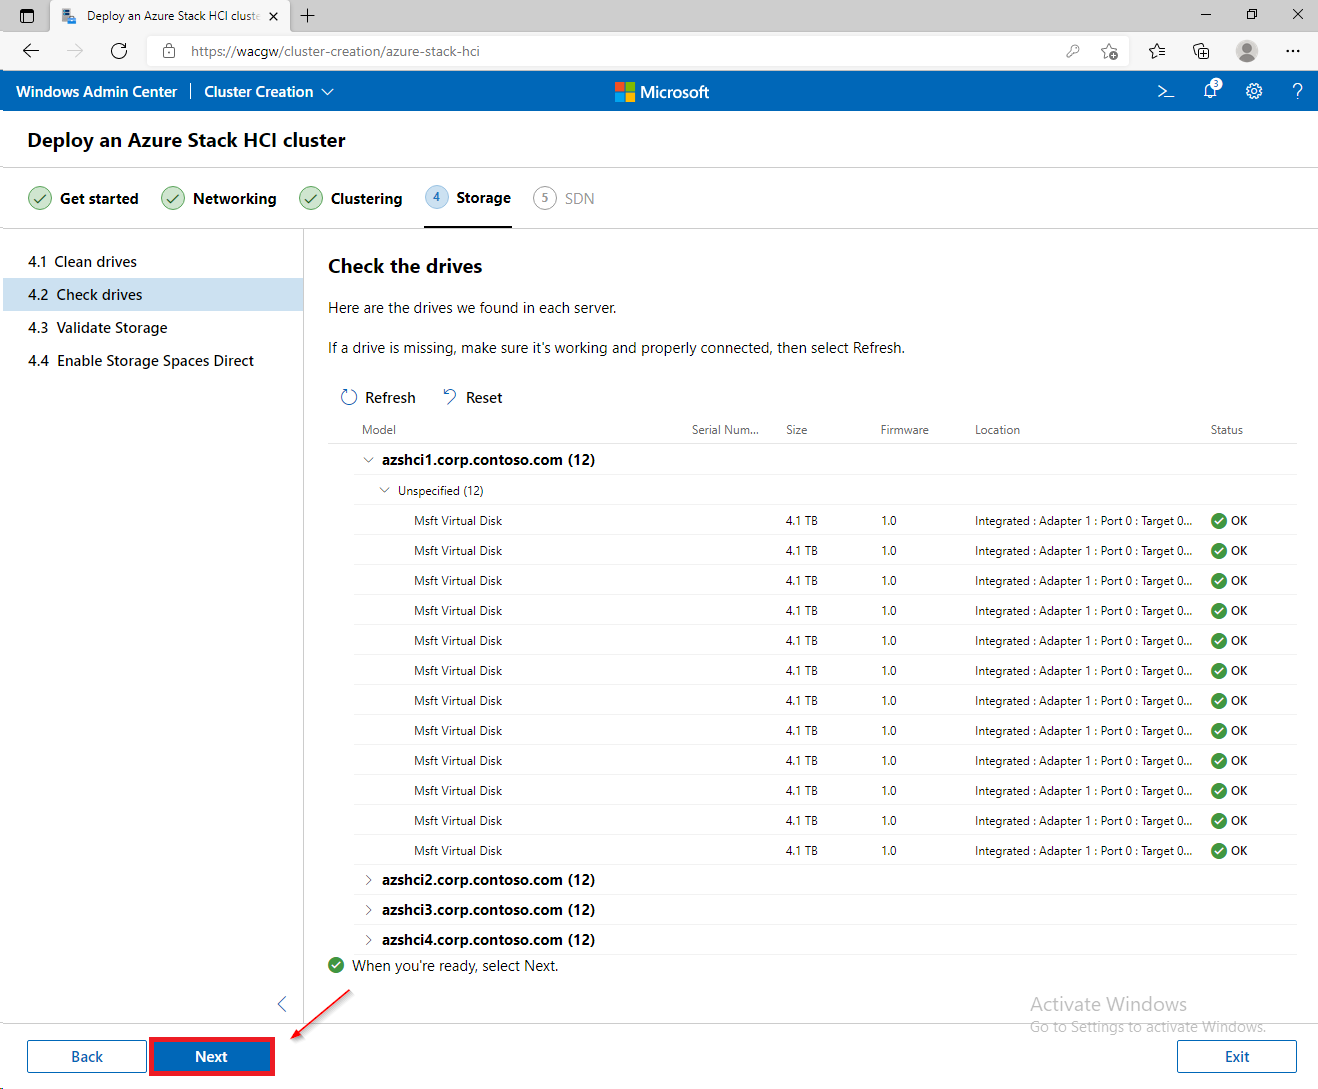
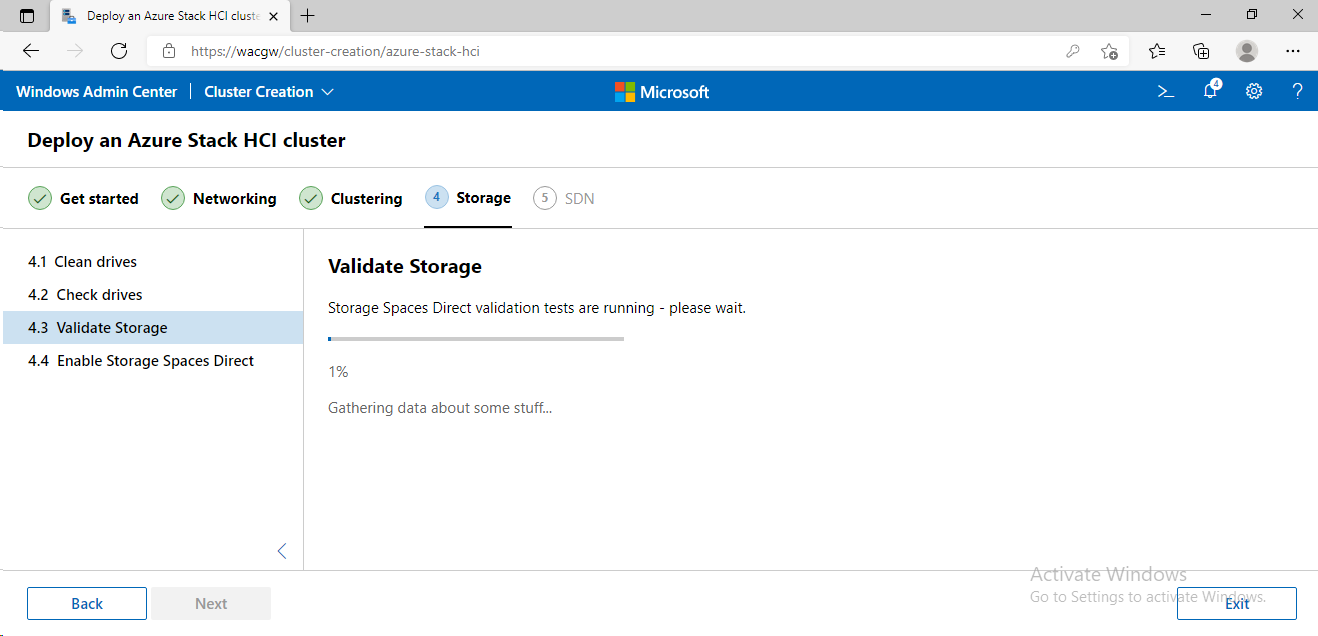
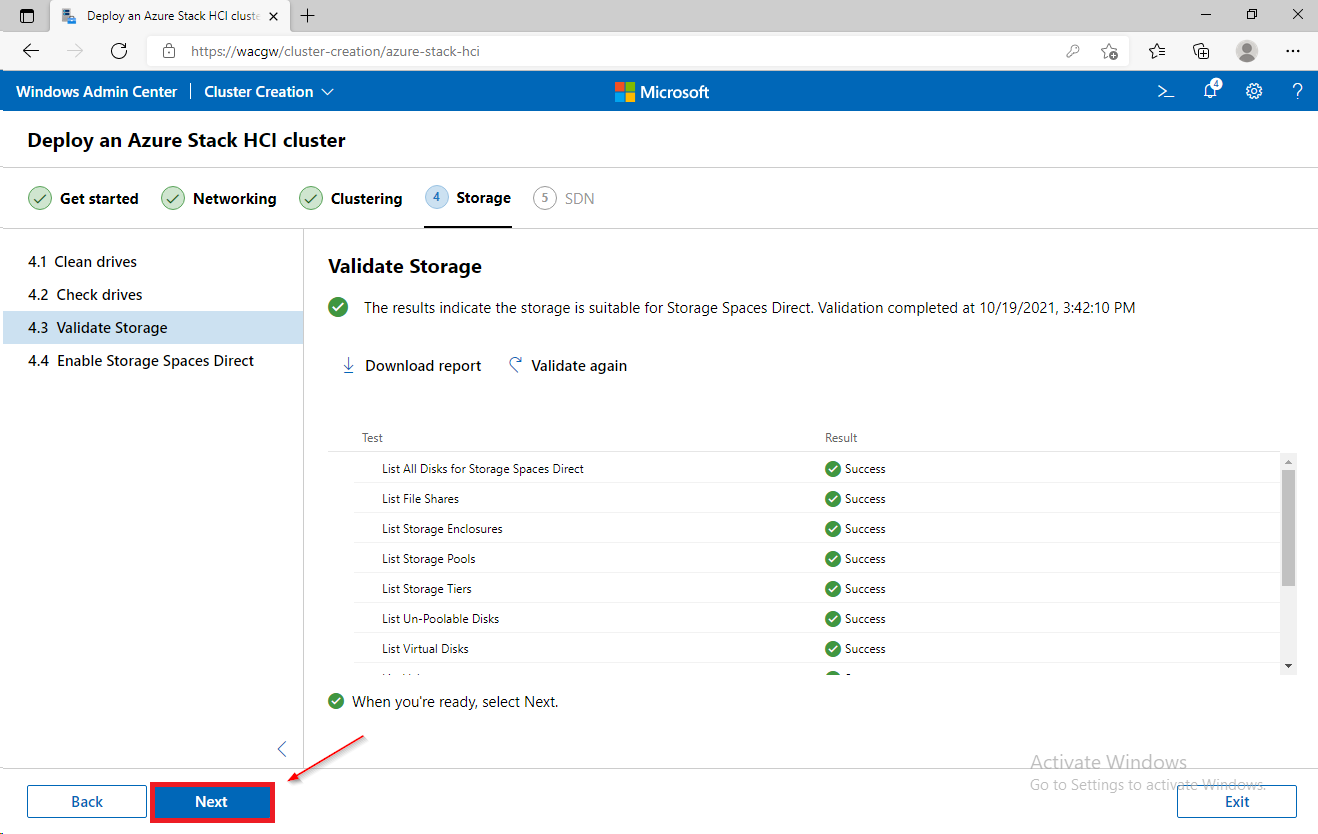
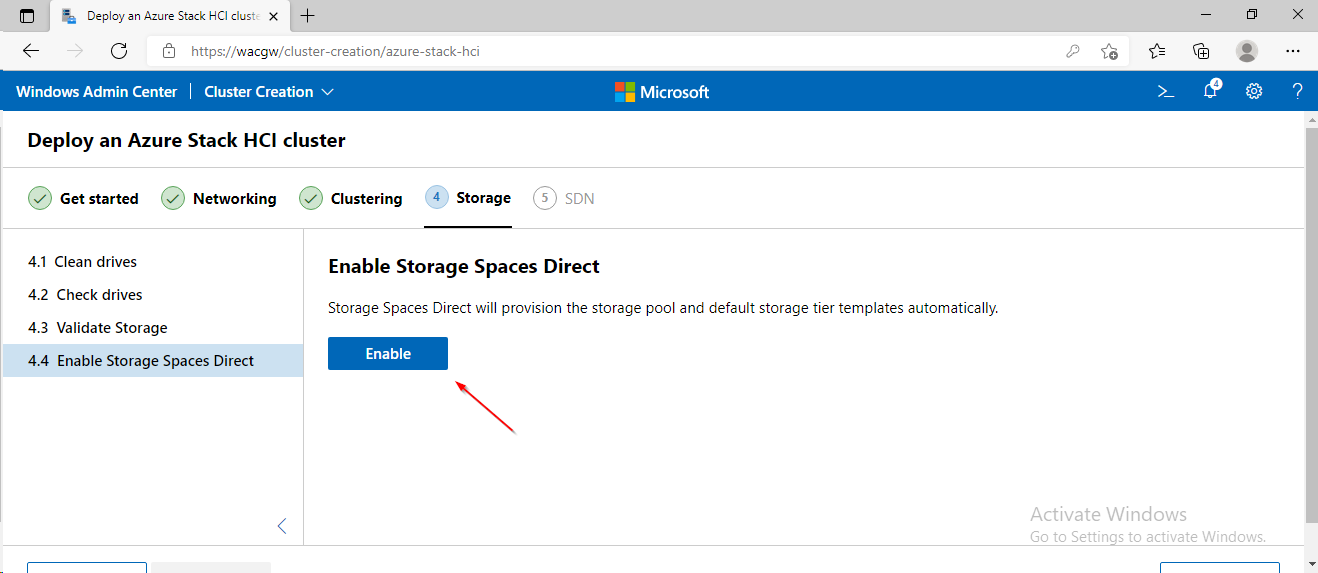
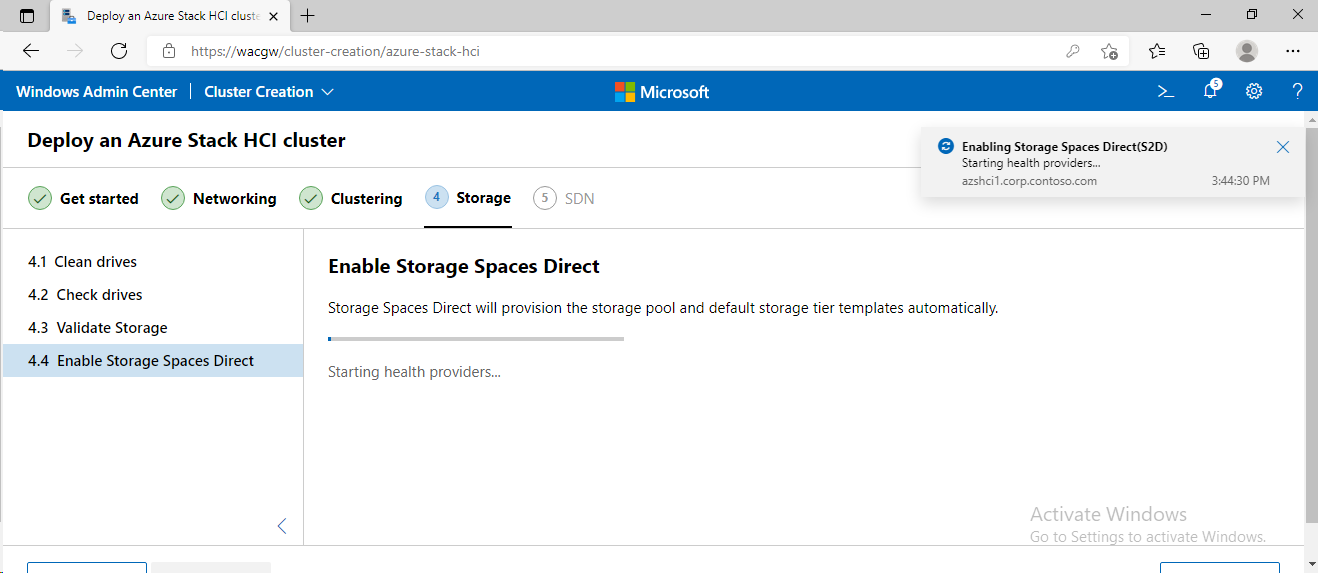
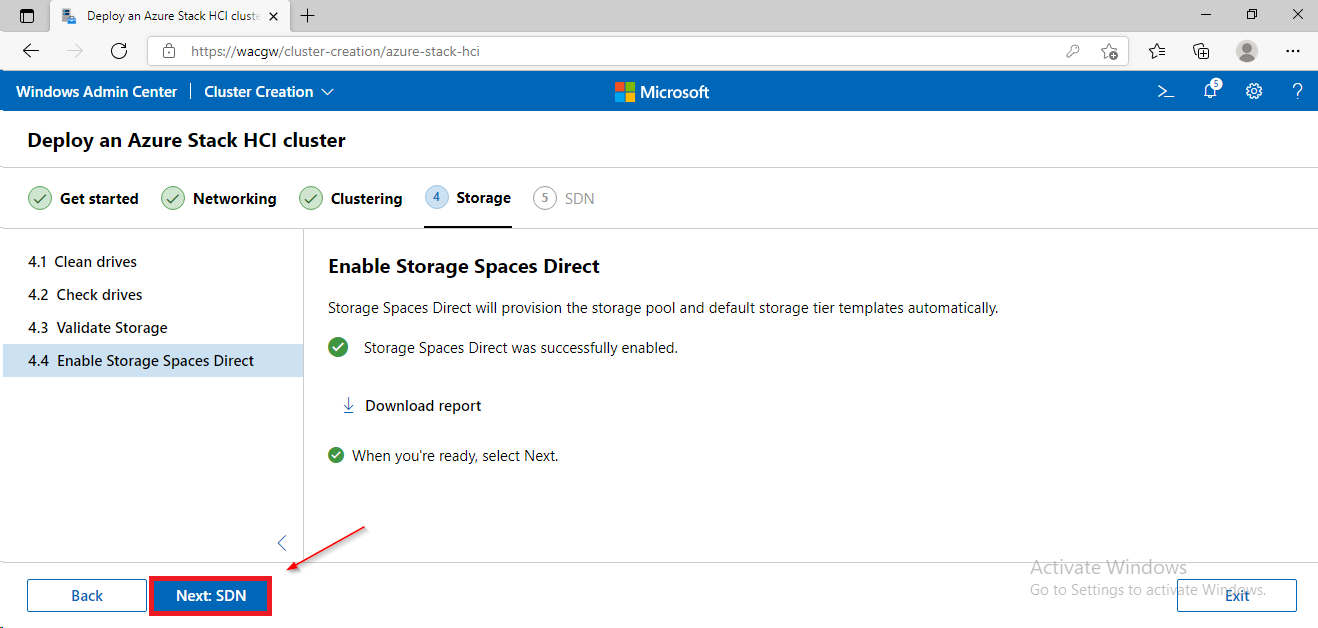
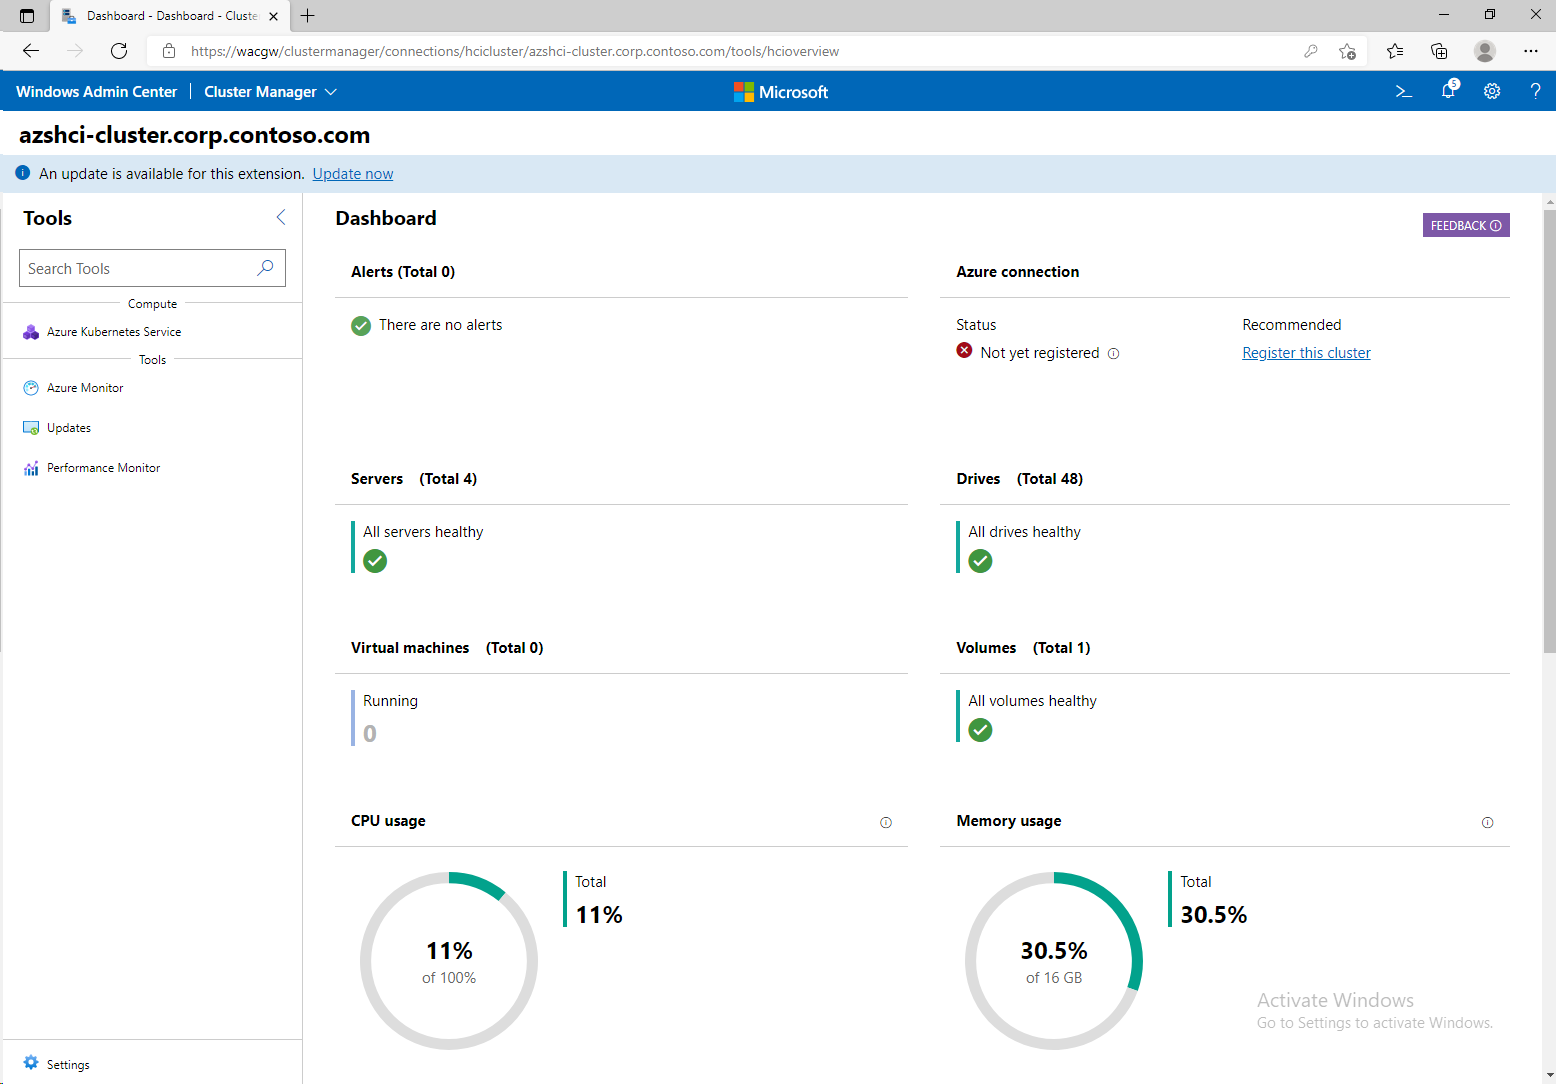
Task 3 - Create Azure Stack HCI cluster
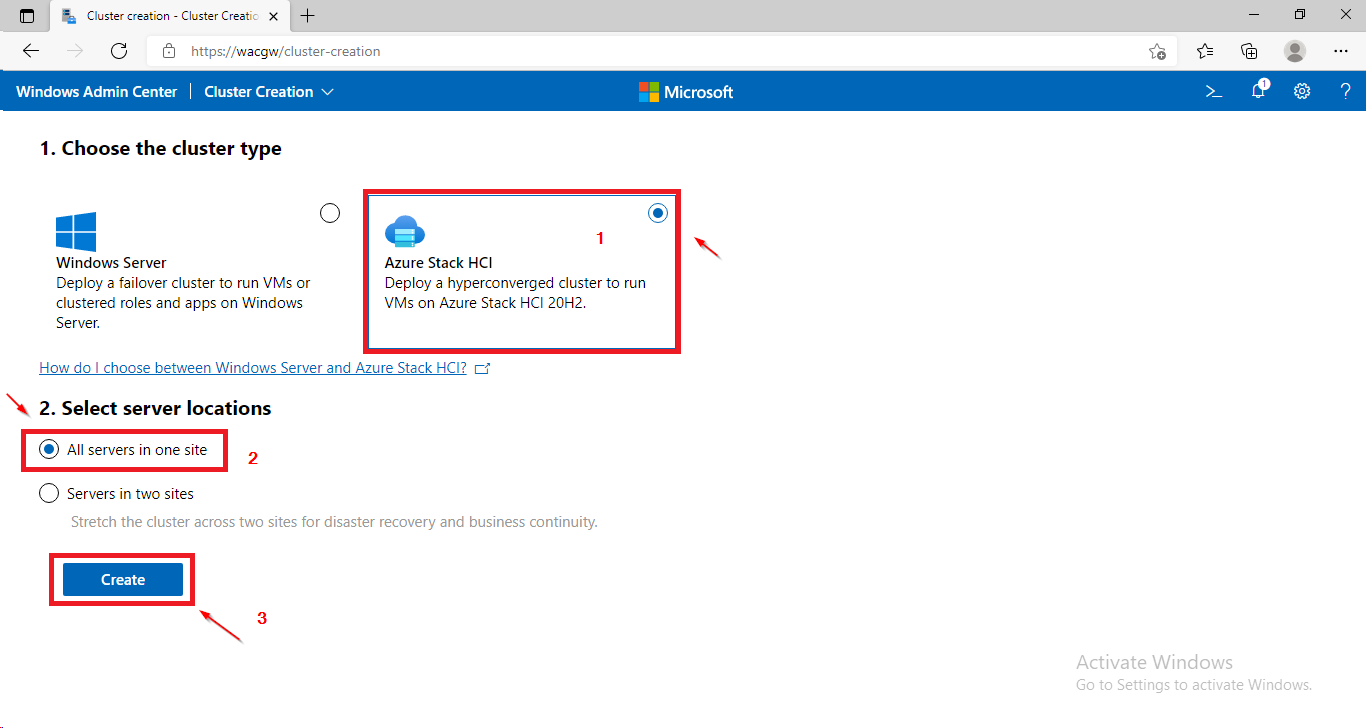
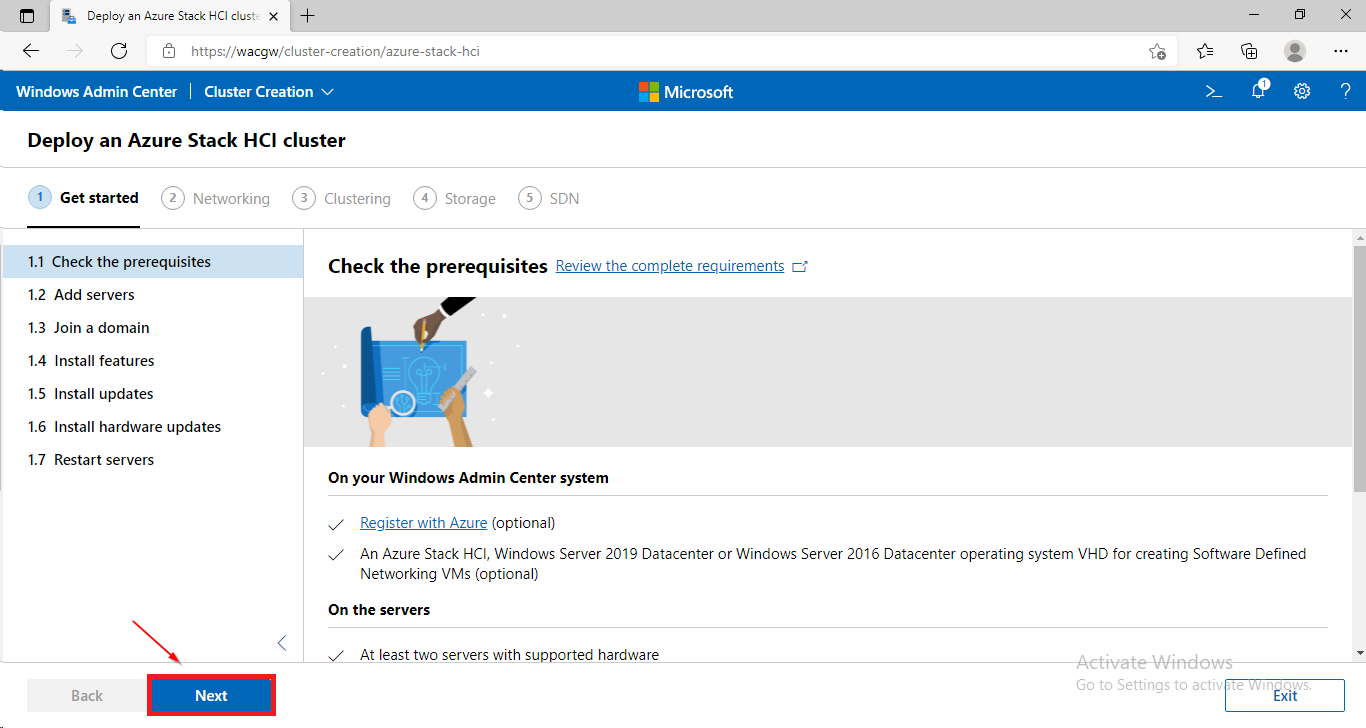
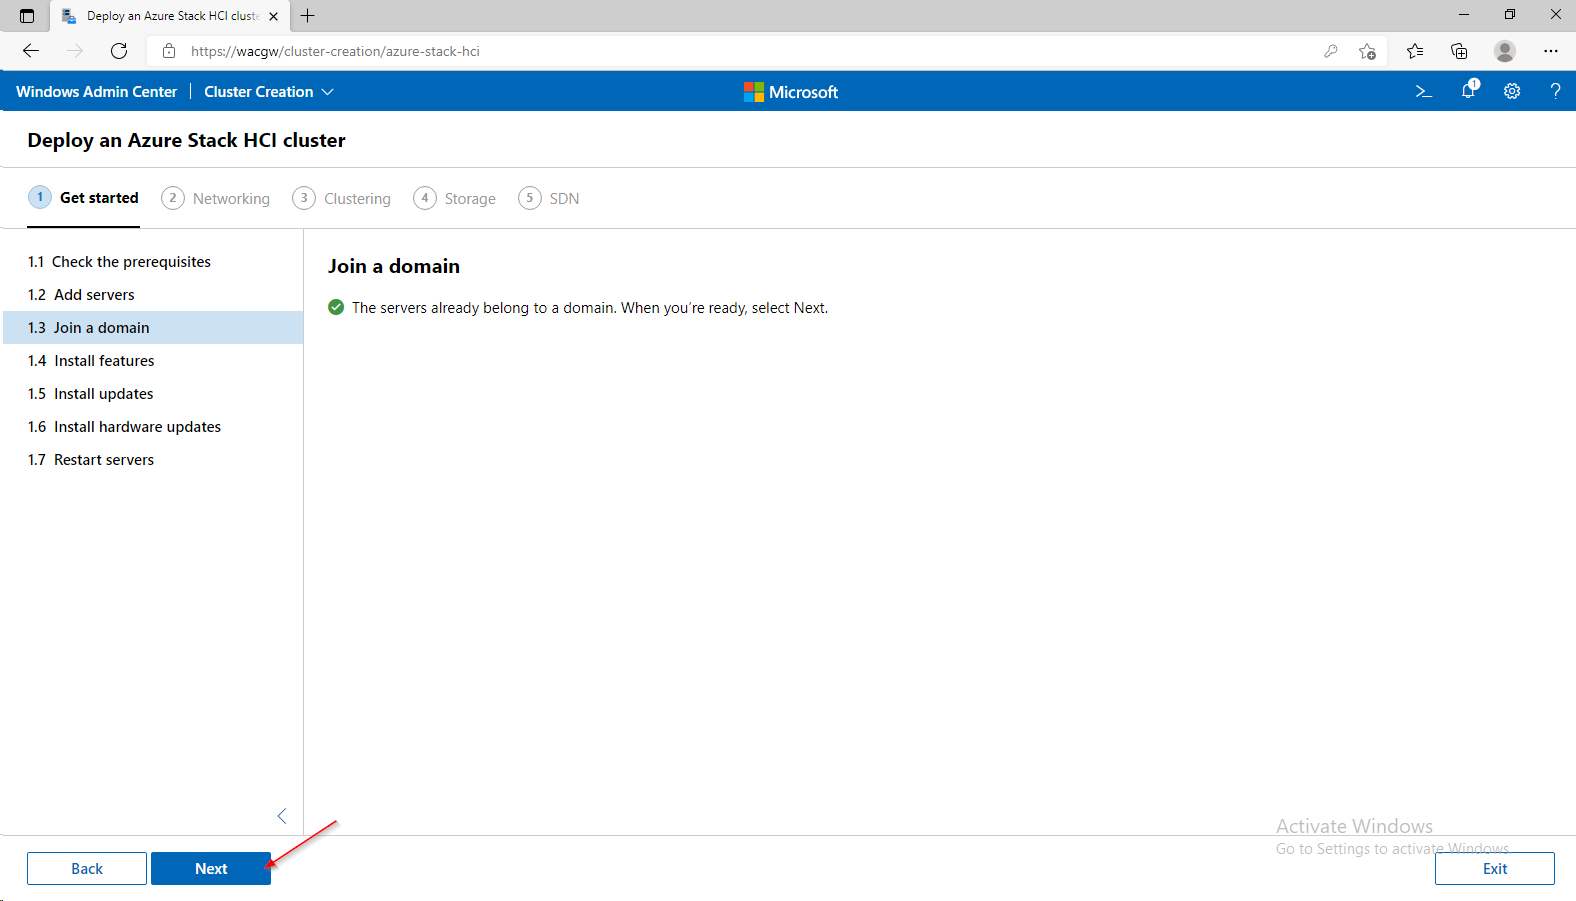
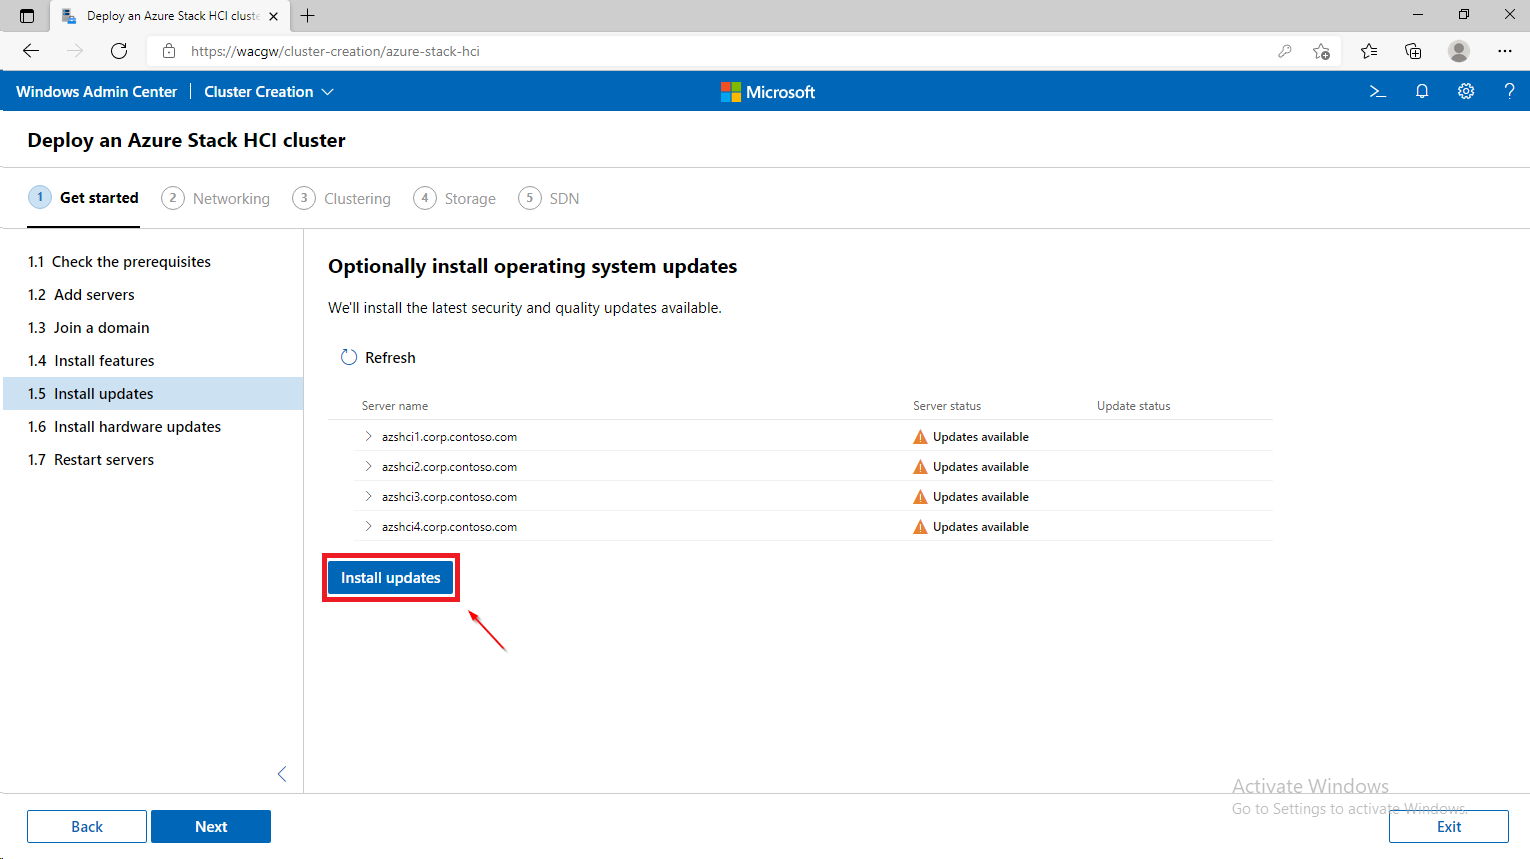
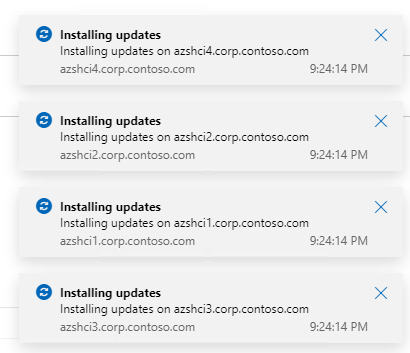
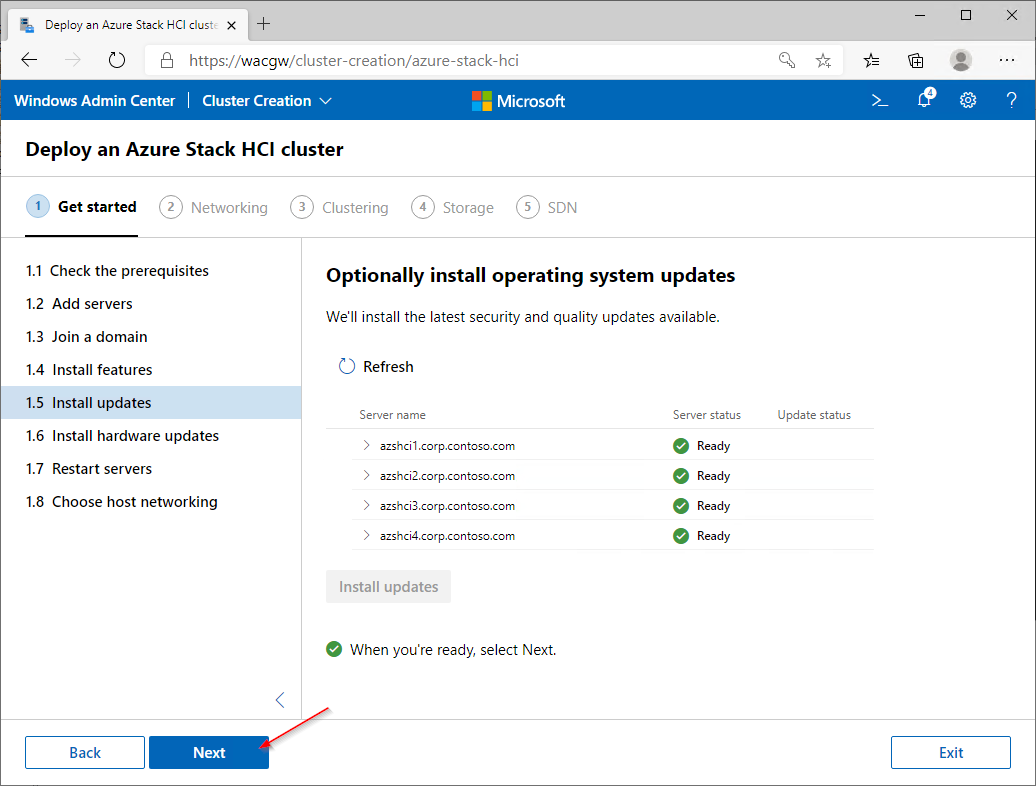
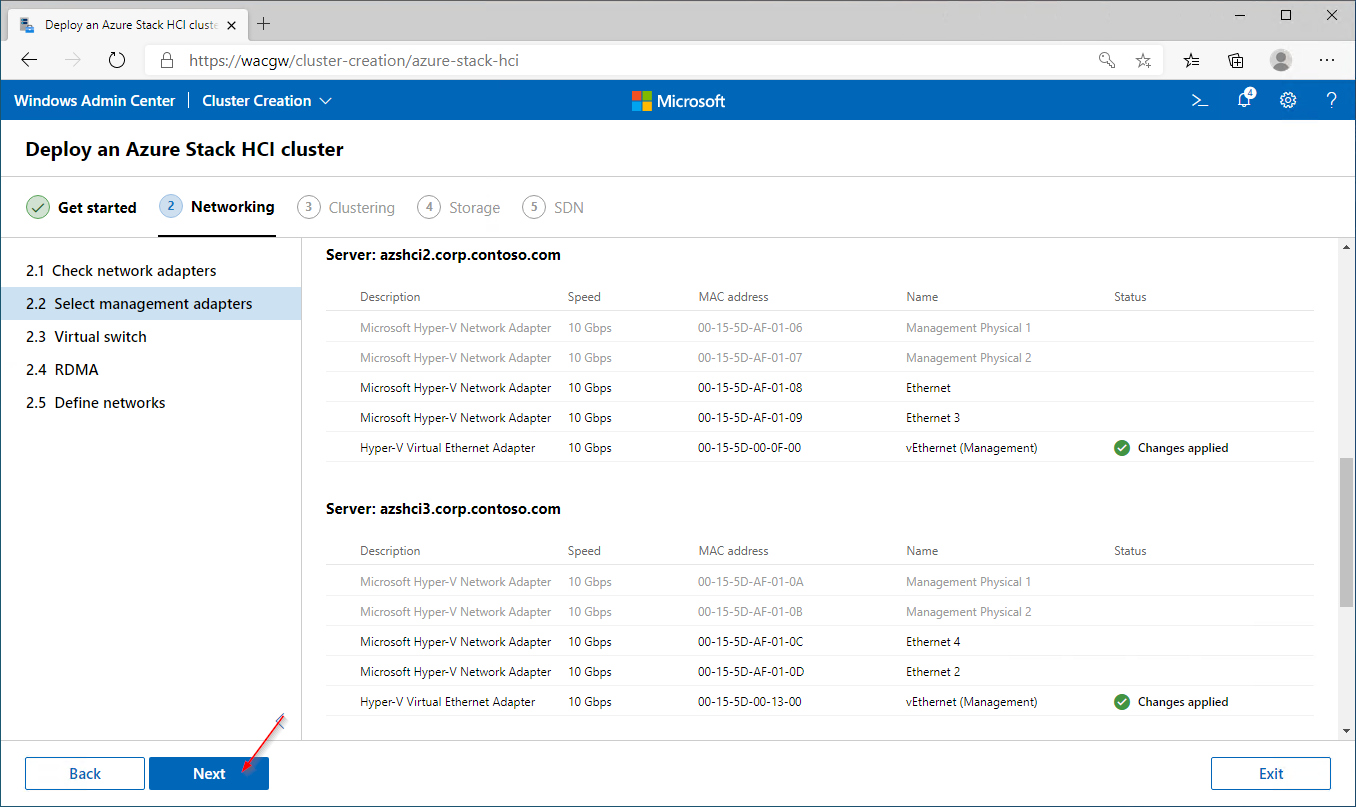
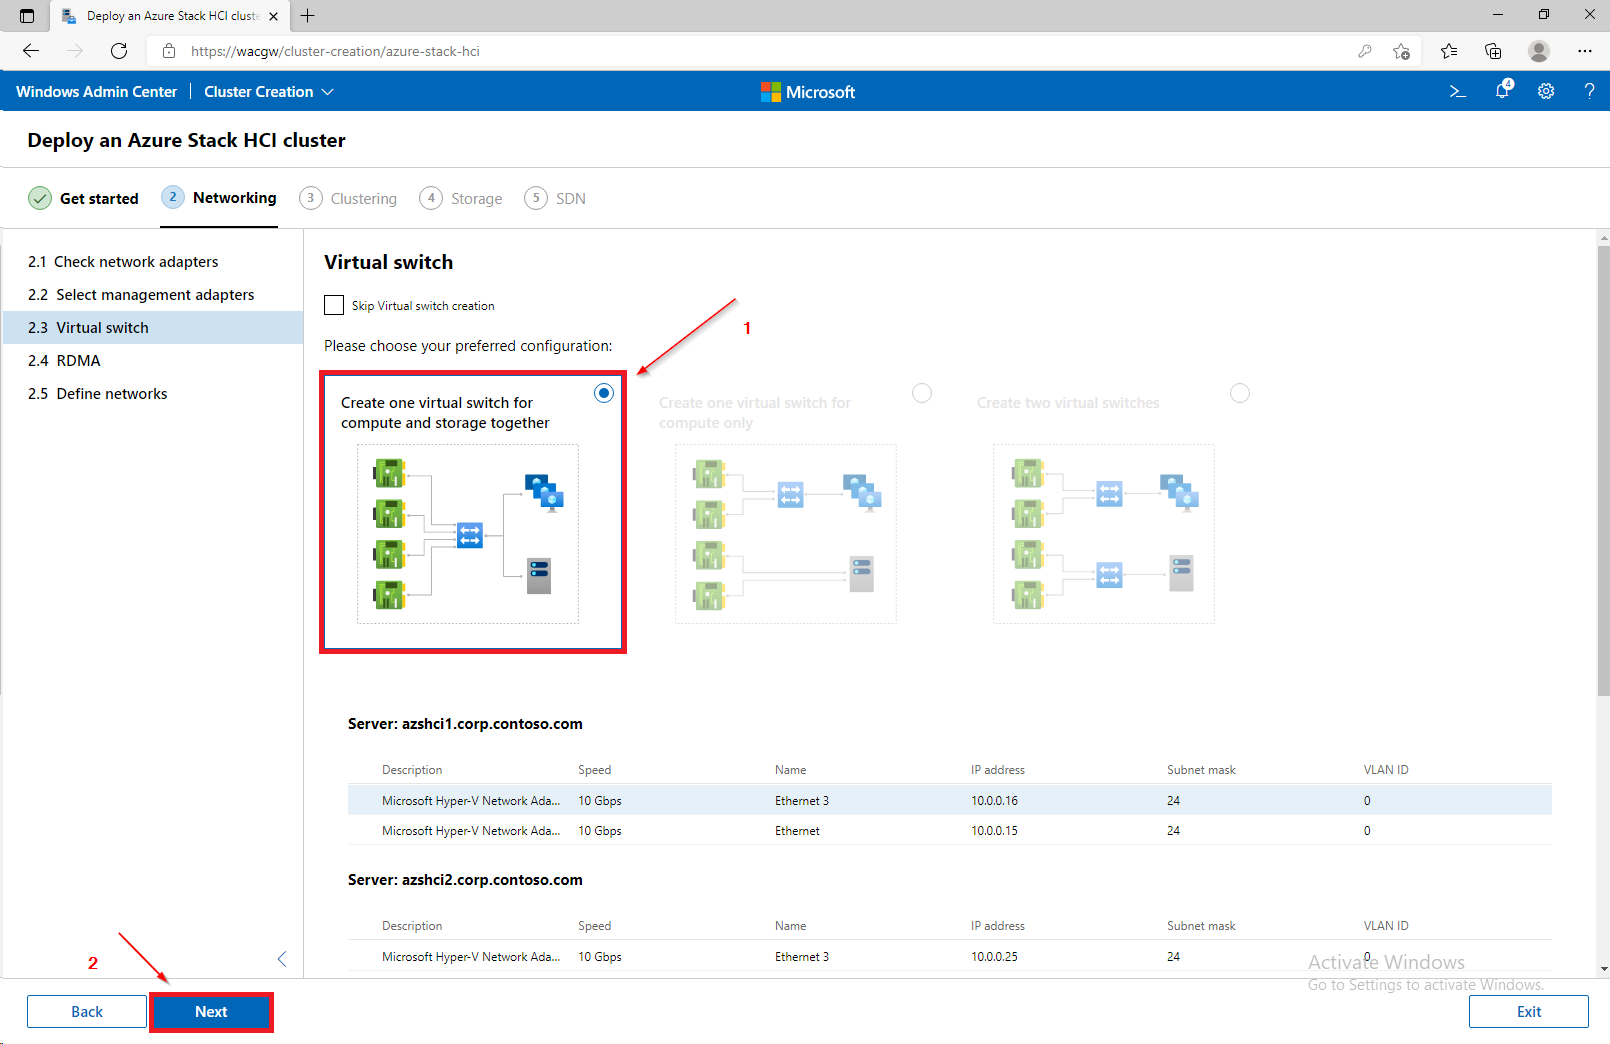
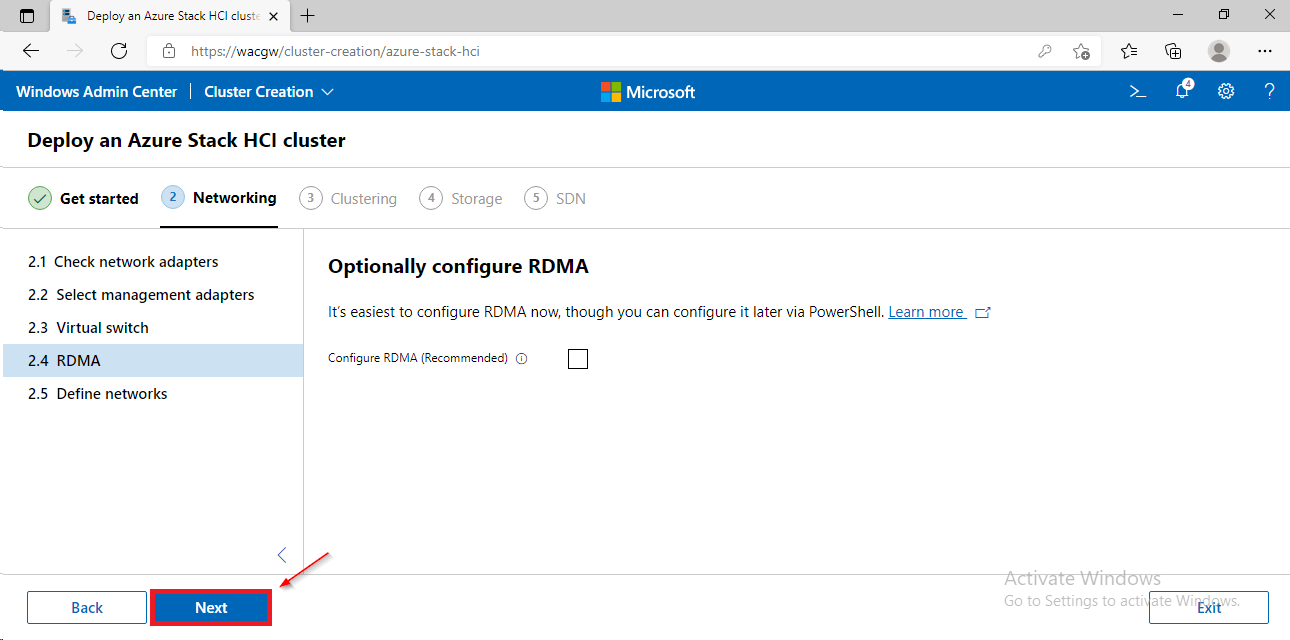
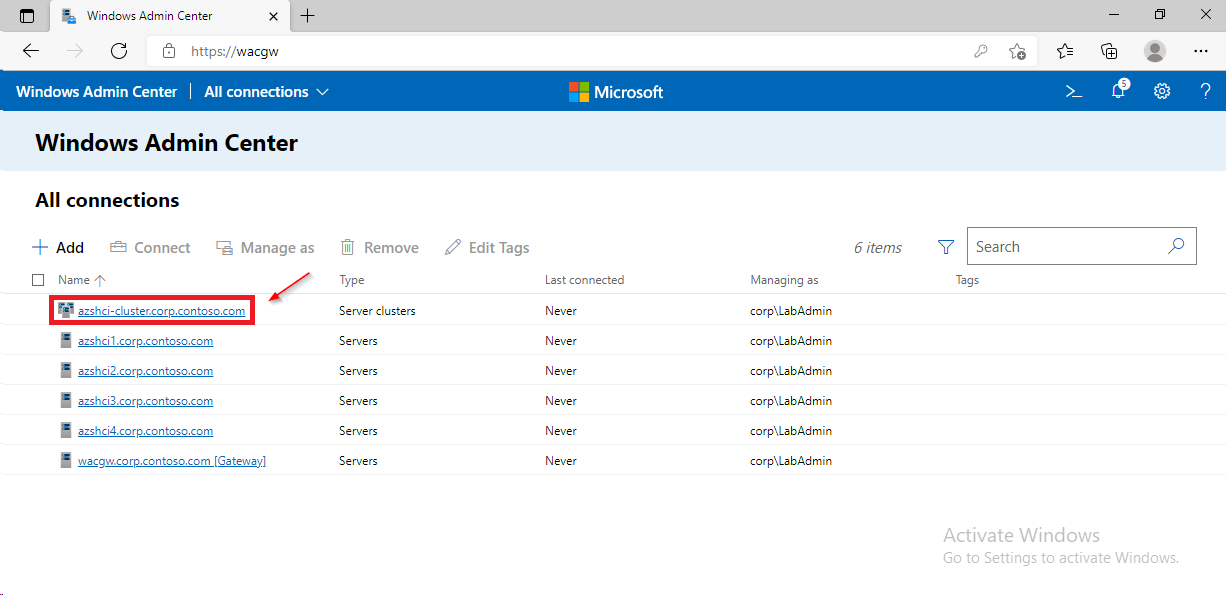
- In Windows Admin Center click on + Add and in Server clusters window click on Create New. The Cluster Creation extension will run.

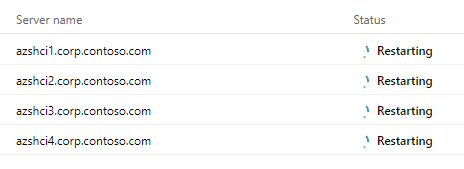
azshci1.Corp.contoso.com
azshci2.Corp.contoso.com
azshci3.Corp.contoso.com
azshci4.Corp.contoso.com
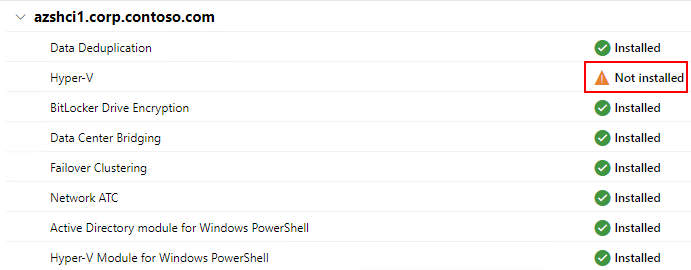
$Servers="AzSHCI1","AzSHCI2","AzSHCI3","AzSHCI4"
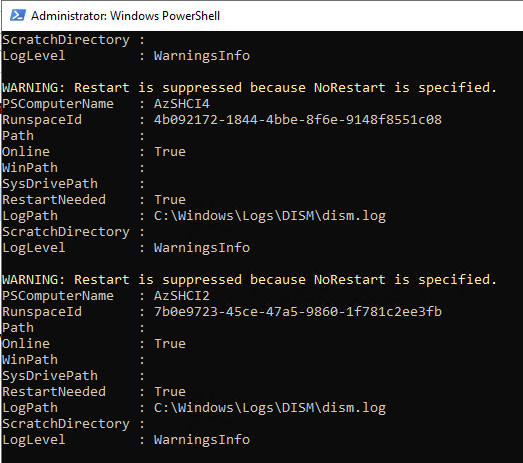
Invoke-Command -ComputerName $Servers -ScriptBlock {Enable-WindowsOptionalFeature -FeatureName Microsoft-Hyper-V -Online -NoRestart}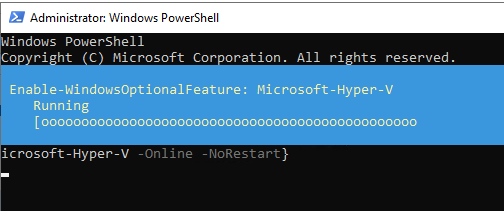

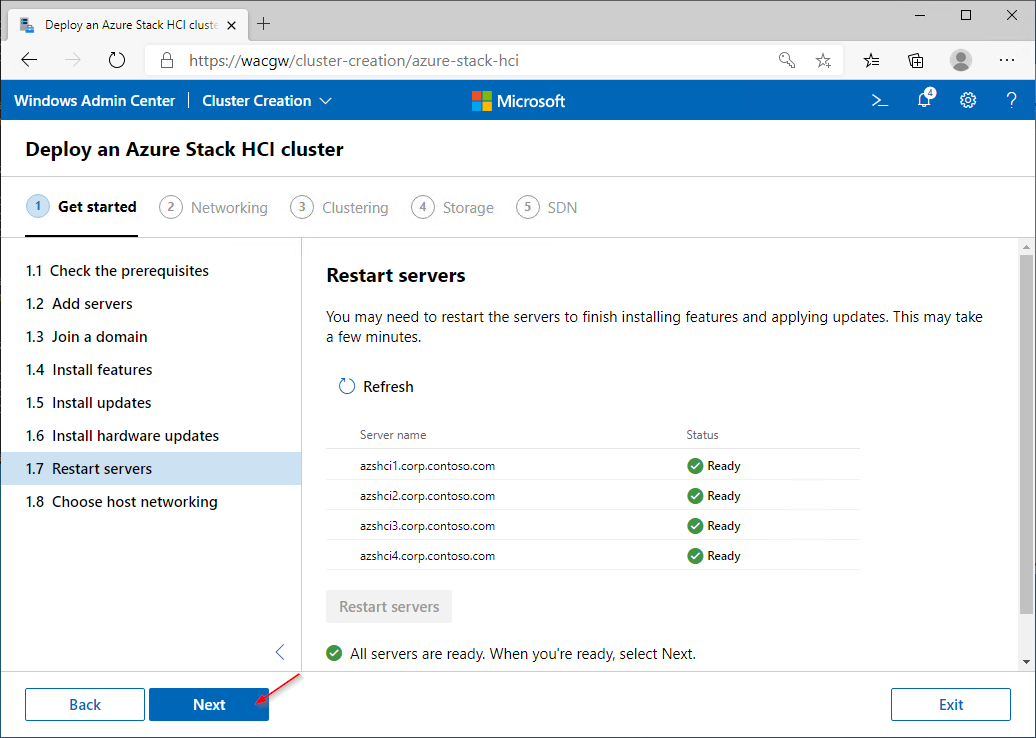
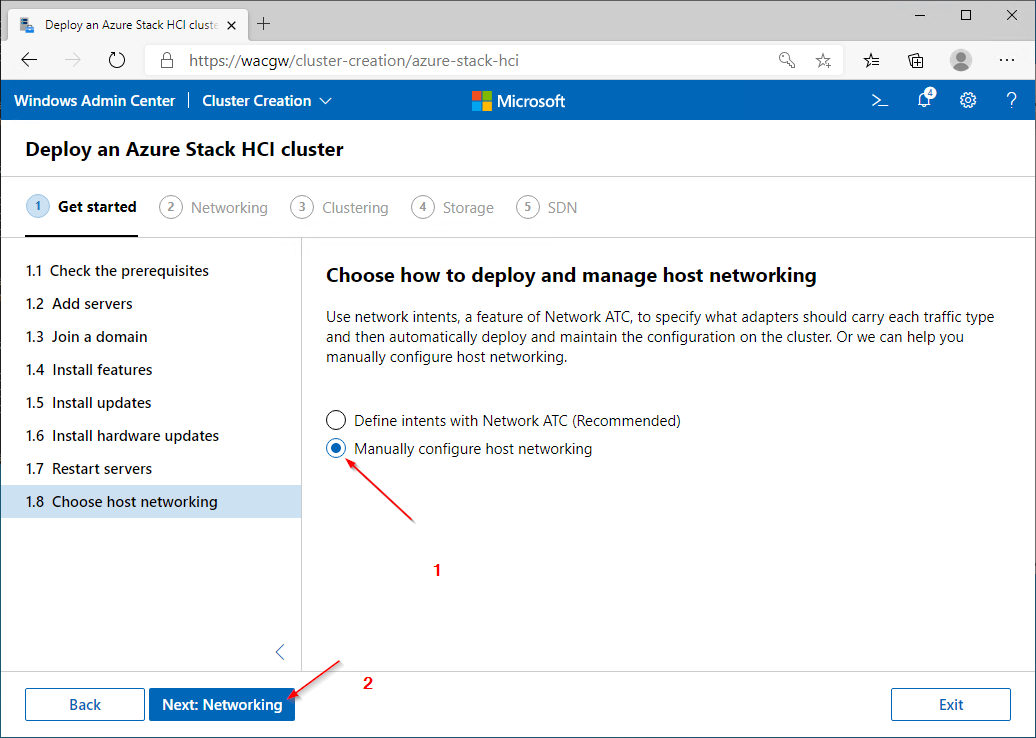
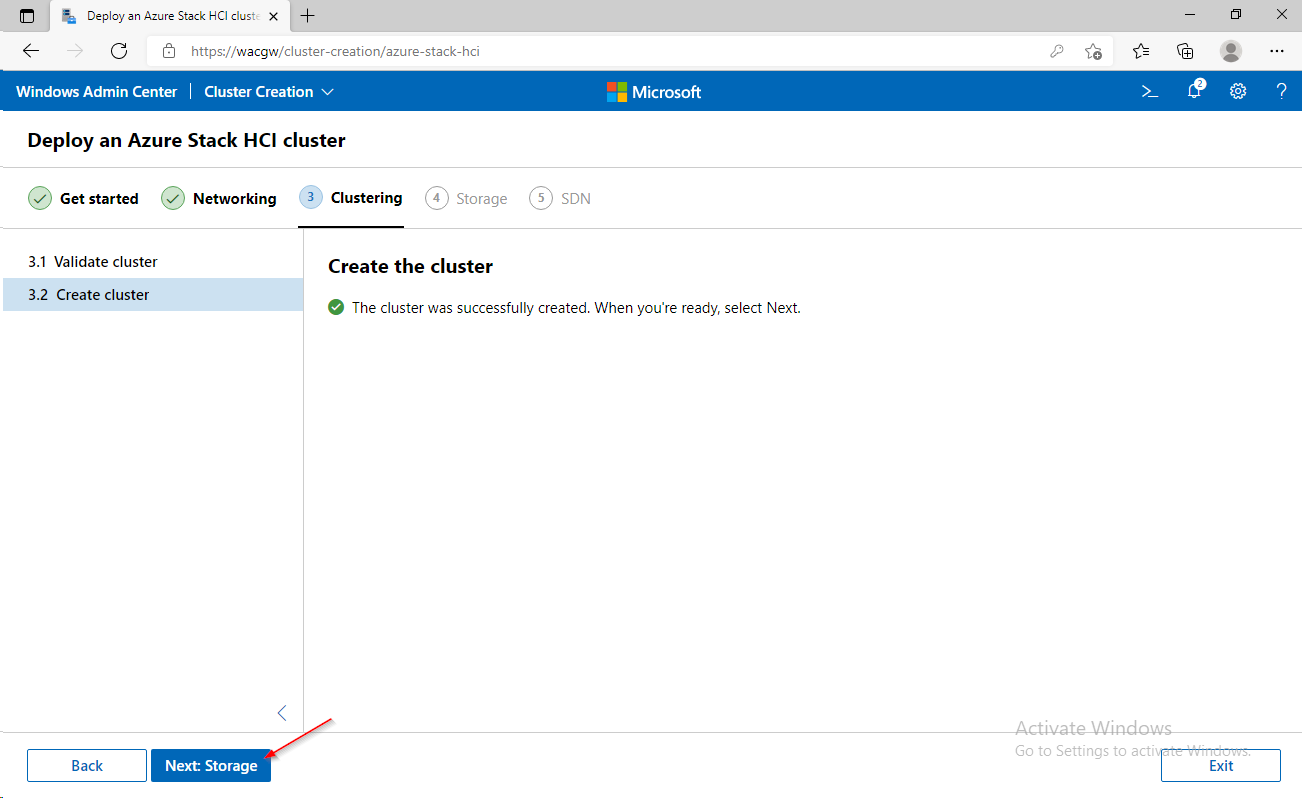
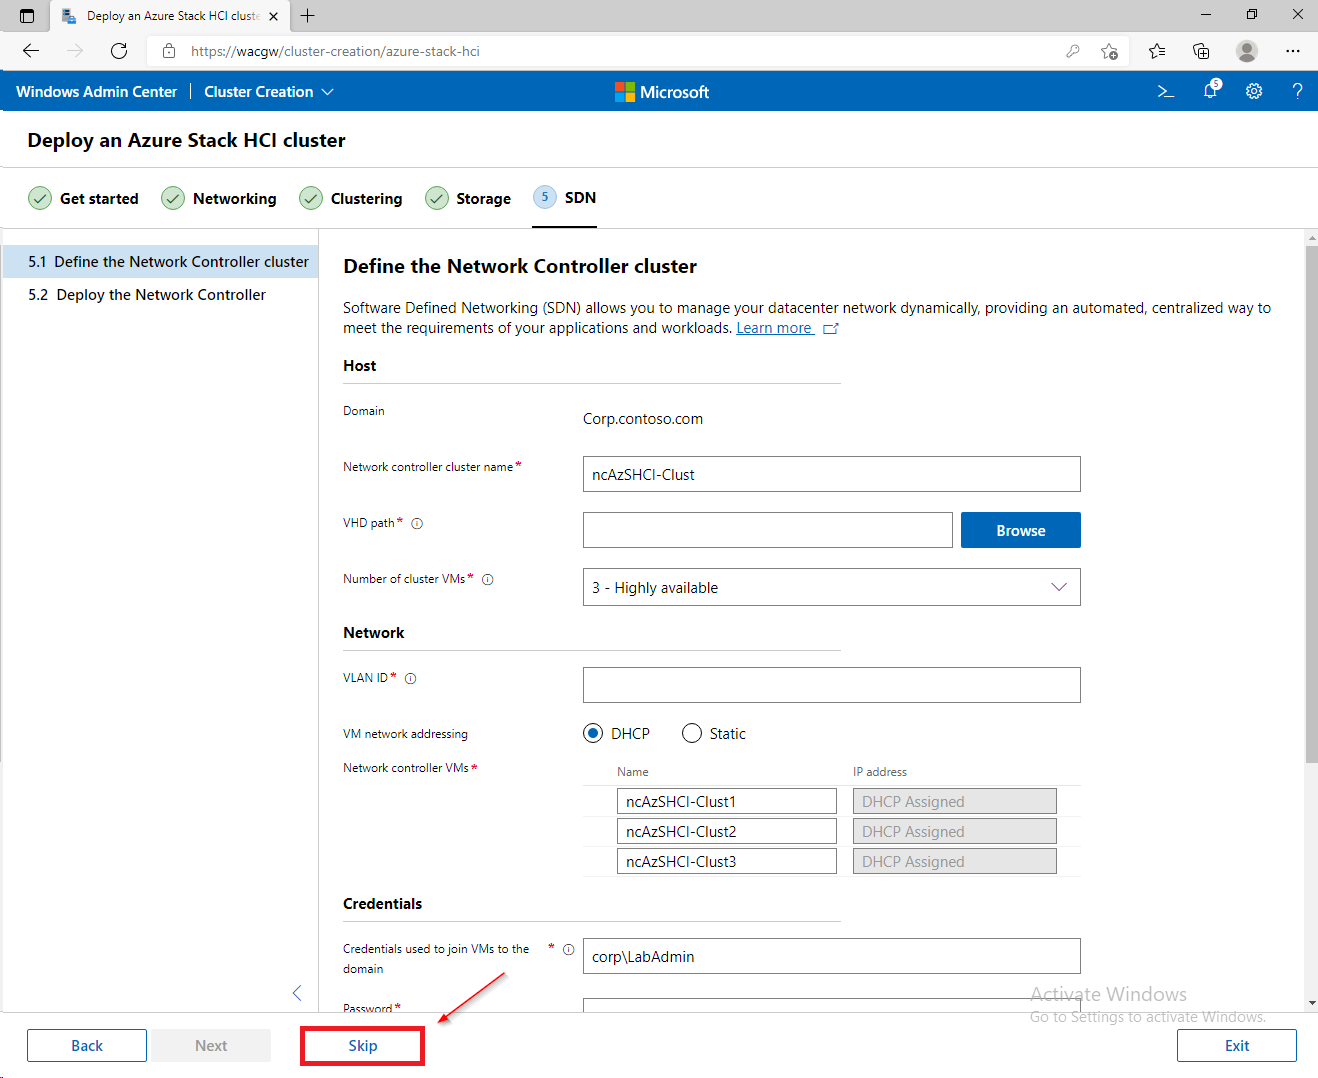
For sake of complexity, SDN step will be skipped. Click on Skip to close Cluster Creation extension.
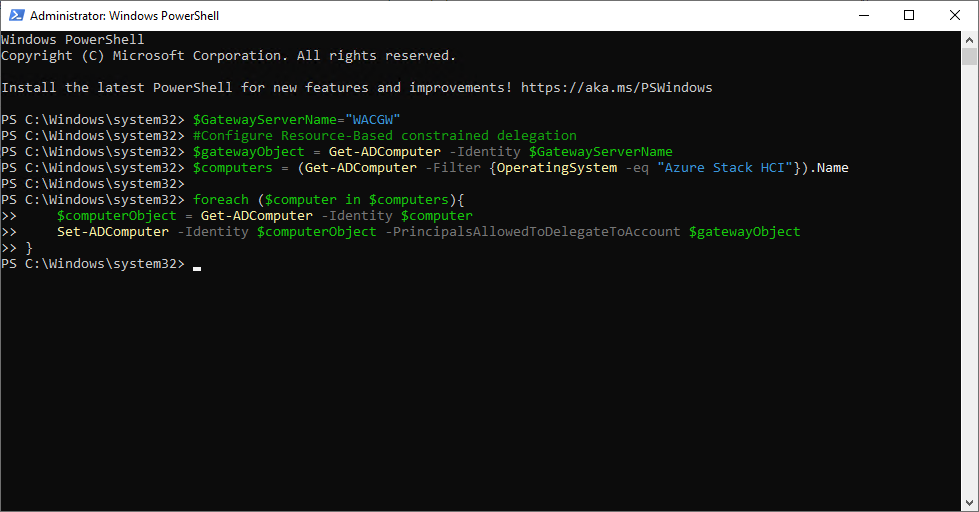
To avoid asking for credentials again, configure kerberos constrained delegation for CNO (Cluster Named Object) using following PowerShell command.
$GatewayServerName="WACGW"
#Configure Resource-Based constrained delegation
$gatewayObject = Get-ADComputer -Identity $GatewayServerName
$computers = (Get-ADComputer -Filter {OperatingSystem -eq "Azure Stack HCI"}).Name

foreach ($computer in $computers){
    $computerObject = Get-ADComputer -Identity $computer
    Set-ADComputer -Identity $computerObject -PrincipalsAllowedToDelegateToAccount $gatewayObject
}
Sources:
Azure Stack HCI Hands-On – Part 1 – Setting Up
 GitHub