

This article has not been completed yet. However, it may already contain helpful Information and therefore it has been published at this stage
Prerequisites:
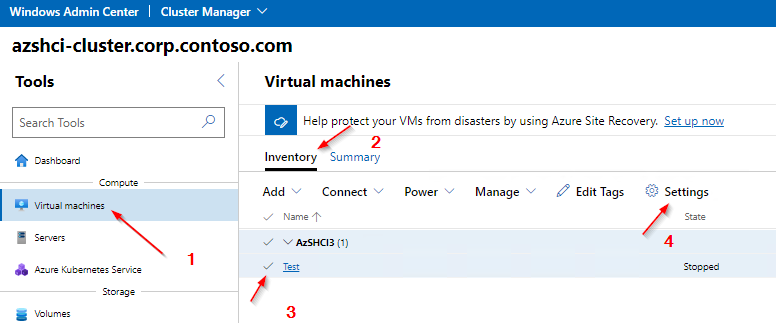
- A VM created on Azure Stack HCI - Link
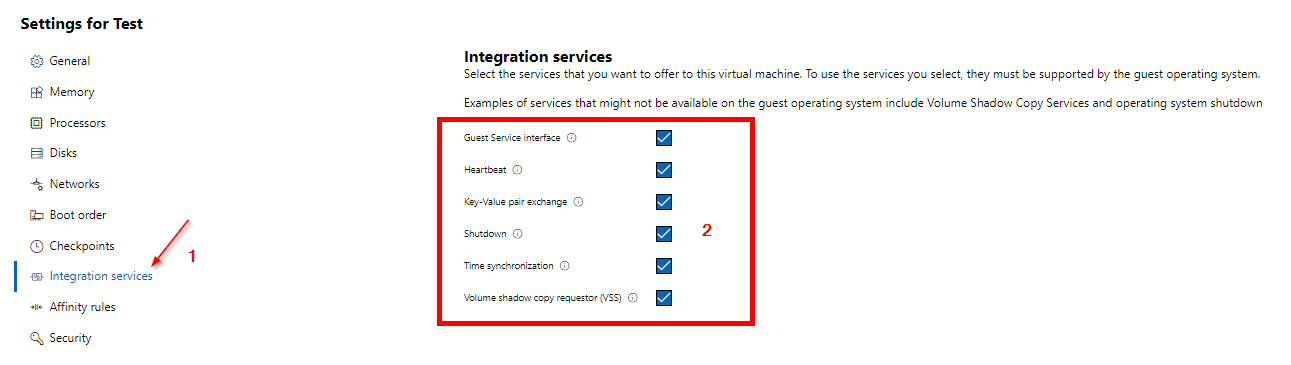
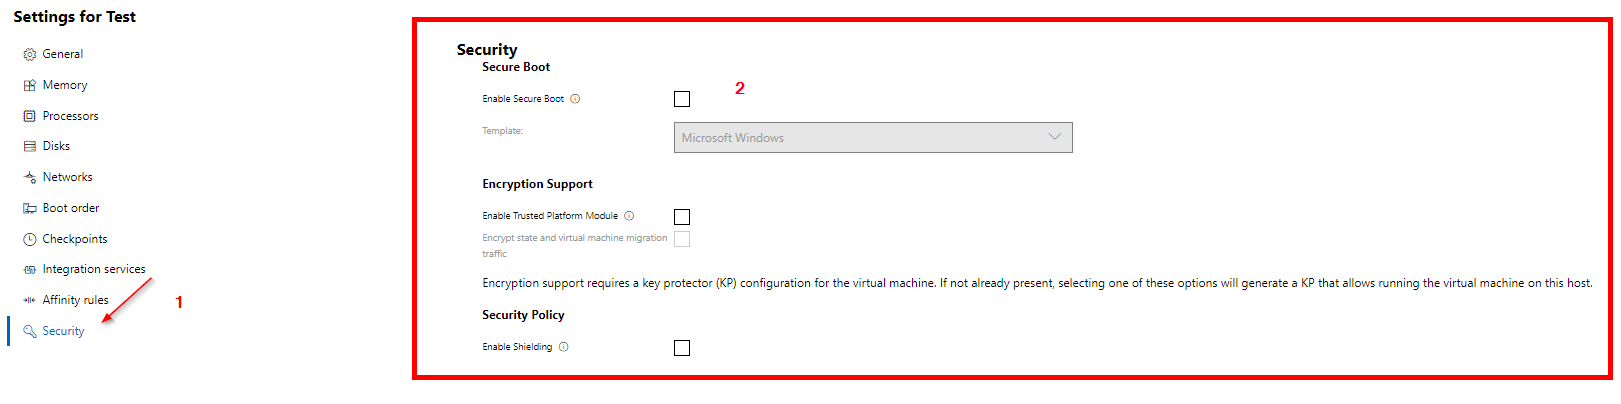
Prepare VM

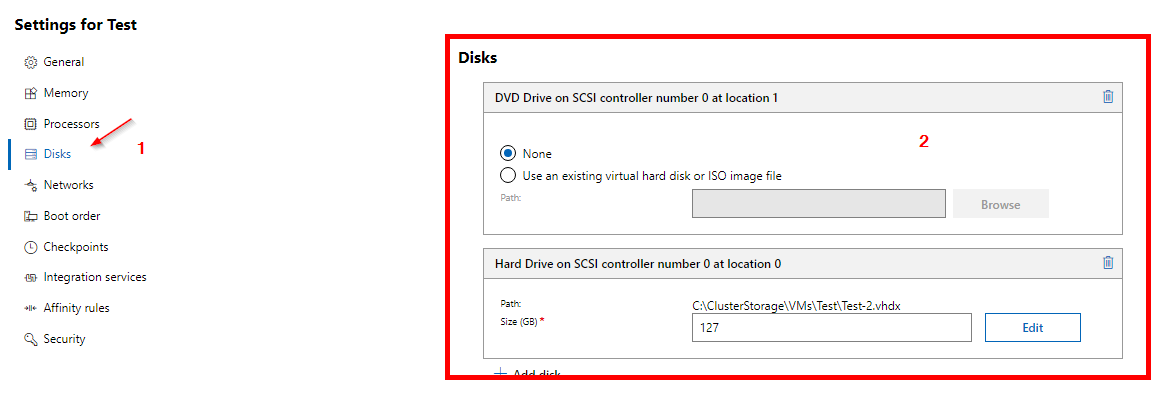
Prepare ISO
- Download Alpine Linux ISO.
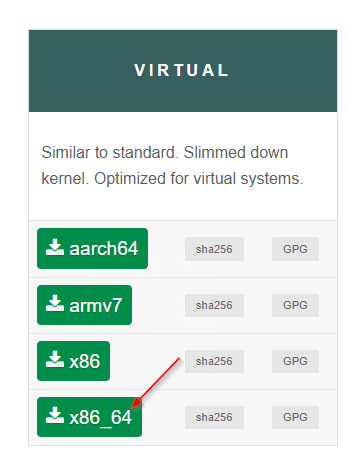
- Choose the Virtual version.
- Attach the ISO to the DVD Drive.
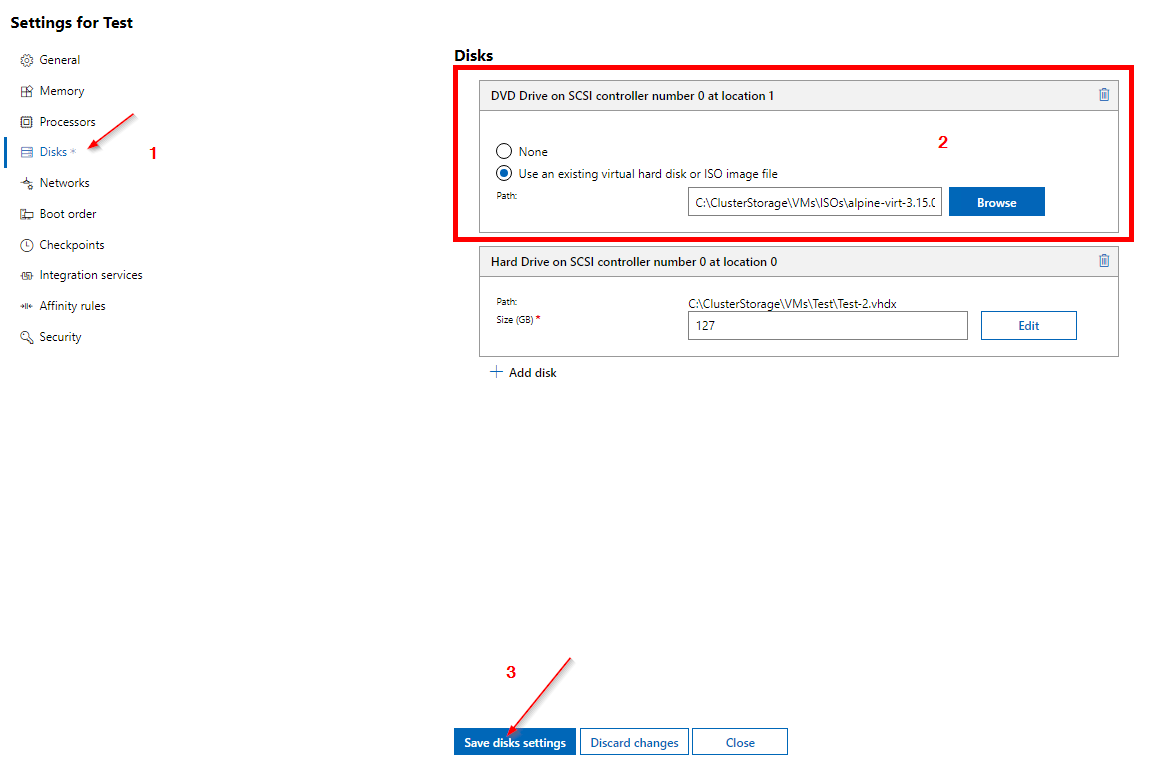
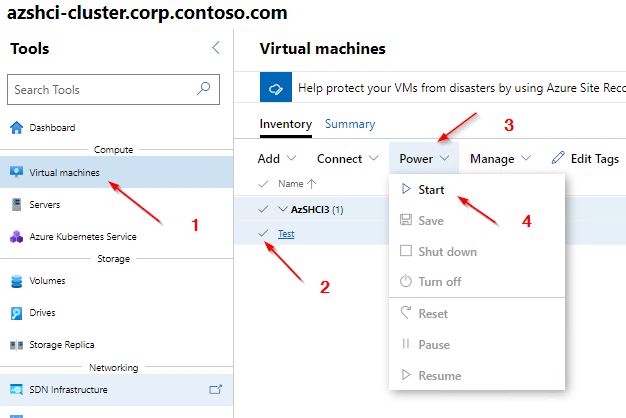
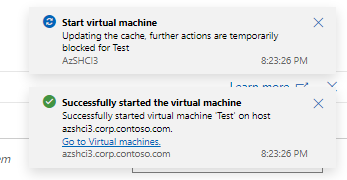
3. Start the Virtual Machine.
Install Alpine Linux
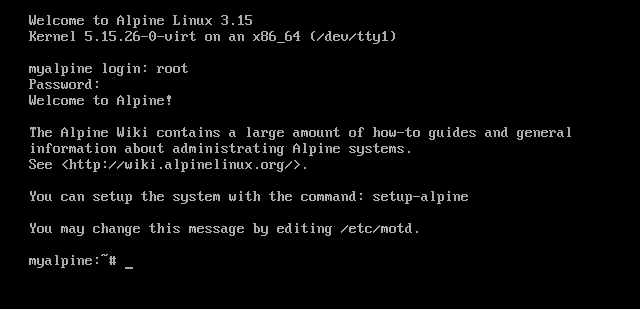
# Login as root
root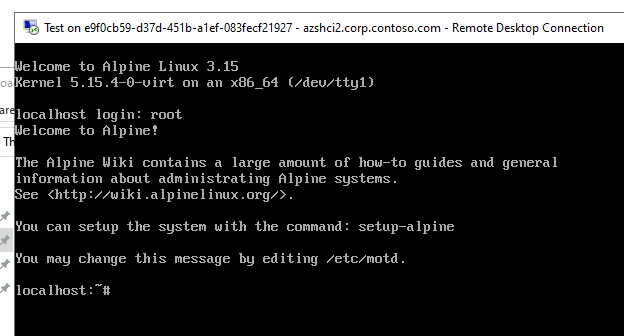
# Start setup
setup-alpine
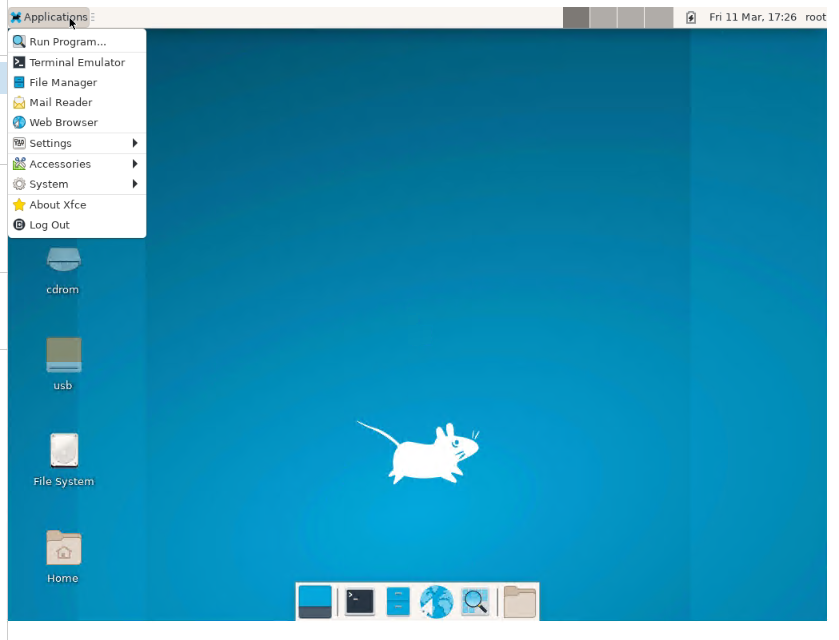
XFCE GUI - Setup
# Package Manager Update
apk update
# Installing Xorg (X Window System display server)
setup-xorg-base# Installing desktop environments
apk add xfce4 xfce4-terminal xfce4-screensaver lightdm-gtk-greeter# Start dbus (IPC - Framework)
rc-service dbus start# Enable to start automatically with system boot
rc-update add dbus# Enable Display Manager
rc-update add lightdm# Start Display Manager
rc-service lightdm start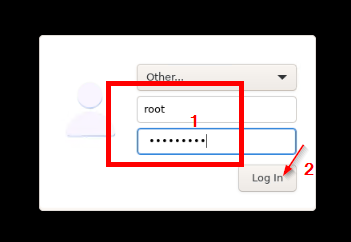
References:
Step-By-Step Guide to Install Alpine Linux in Hyper-V (Part 1)
Part 3: Step-By-Step Guide to Install Alpine Linux in Hyper-V (Part 3) Part 2: Step-By-Step Guide to Install Alpine Linux in Hyper-V (Part 2) Part 1: Step-By-Step Guide to Install Alpine Linux in Hyper-V (Part 1)
 Amnesia Repression
Step-By-Step Guide to Install Alpine Linux in Hyper-V (Part 2)
Part 3: Step-By-Step Guide to Install Alpine Linux in Hyper-V (Part 3) Part 2: Step-By-Step Guide to Install Alpine Linux in Hyper-V (Part 2) Part 1: Step-By-Step Guide to Install Alpine Linux in Hyper-V (Part 1)
Amnesia RepressionStep-By-Step Guide to Install Alpine Linux in Hyper-V (Part 3)
Part 3: Step-By-Step Guide to Install Alpine Linux in Hyper-V (Part 3) Part 2: Step-By-Step Guide to Install Alpine Linux in Hyper-V (Part 2) Part 1: Step-By-Step Guide to Install Alpine Linux in Hyper-V (Part 1)
Amnesia Repression
How to install XFCE GUI on Alpine Linux